Jar Jar
ECU Install Details From My 2000 1.8t GLX
Updated 7/29/00
Philip Wise
| DISCLAIMER: I did this work to my car and I've included some suggestions if you do it to yours. If you choose to do it to yours, it's your decision and you are responsible for anything that happens, not me. We're just having fun here, right? |
|
I November 1999, I set off to install a new ECU with chip from
GIAC in my 2000 1.8t.
Unfortunately, the ECU that arrived didn't fit due to an unexpected
change in a connector "key" in the ECU between 1999 and 2000. Due to
this, I had to take it apart a couple times so the 2nd time around I
took these photos. Also included below are some photos of the fuel
pressure regulator you also need to install. Along the way I also put on
a Borla exhaust, another recommended part
of this upgrade.
De-Mobilization Circuit Problem with new 2000 ECU's If you send your 2000 or later ECU in for modification, you will not have the need for the "introduction," since the modification doesn't affect the de-mobilization circuit. If you have a 1999 car, there isn't a de-mobilizaiton circuit to deal with, so a new ECU process is much easier and can be done without dealer help.
Cruise Control Problem |
|
Install Details The ECU is located inside the left side of the dash. You gain access to it by removing three pieces of the dash from the top side. |
ECU Location
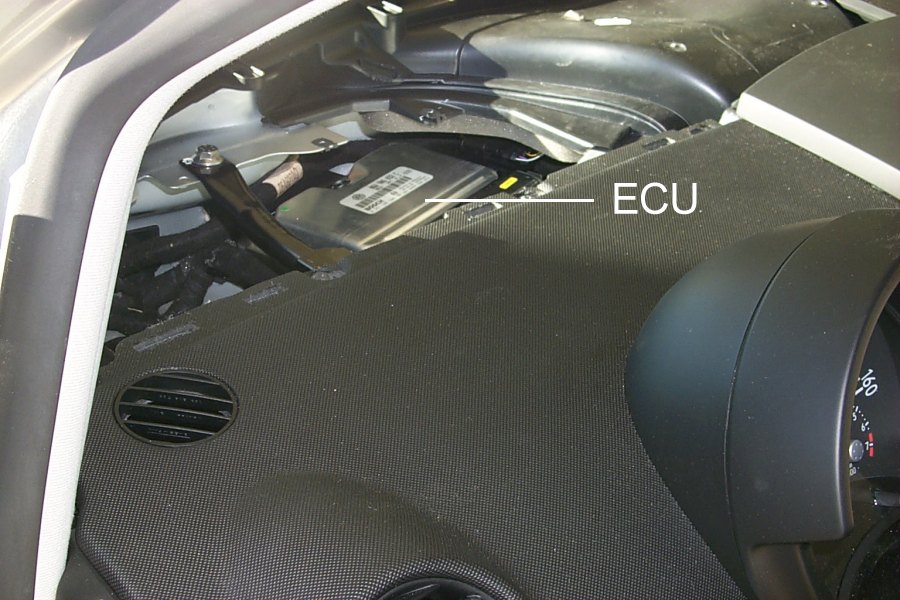
| This shows where the ECU is mounted in the dash. |
Removing Center Cover
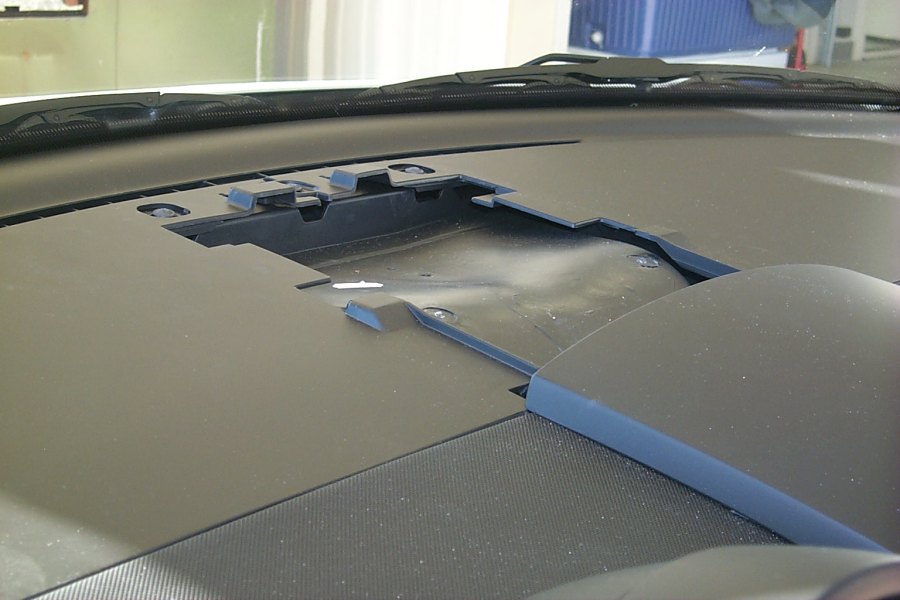
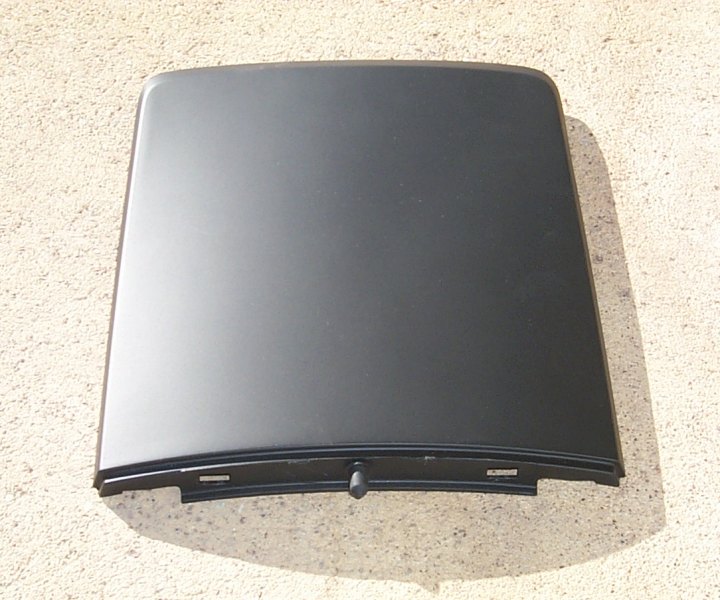
Top center cover removed, and back side detail.
| To get inside the dash, you first have to remove the top center cover. No tools are required. It is held in place by several clips on the back side of the cover. To remove it, you will need to slide it toward the front of the car about an inch. I did this by forcefully slipping my fingers under the very front of the cover so I could pull it toward the front. I suggest you avoid using any tools while doing this as it would be very easy to slip and scratch your dash. See photo of the back side of the cover so you can see the clips that hold the piece in place. |
| IMPORTANT NOTE: Take care to not slip and hit the windshield with any of your tools or the ECU itself. I understand this is because the lower portion of the windshield is much more fragile than the top. |
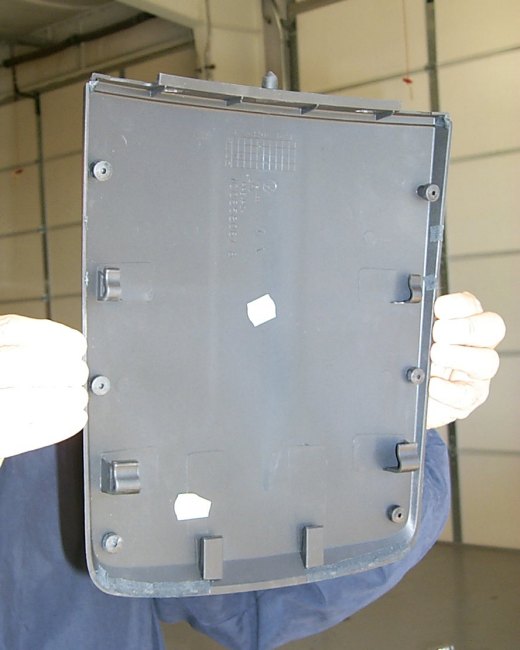
Removing Left Side Cover


Left side removed and front / back side detail photos. (no, it's not me)
| The left dash cover comes off next. This photo shows it removed. The cover is held in place by two Torx 20 screws and several clips on the bottom side of the panel. There are three screws at the front of the dash. Remove the center and left screw. Note there isn't much room between the screw and the windshield. I used a 1/4" drive socket with a Torx 20 insert in it. Once removed, you can take out the panel by pulling up on it. It snaps down into place via a number of clips on the leading and trailing edge, so pulling up starting at the right and moving to the left works well. At the very left you can see two protrusions that hold the left side in place. |
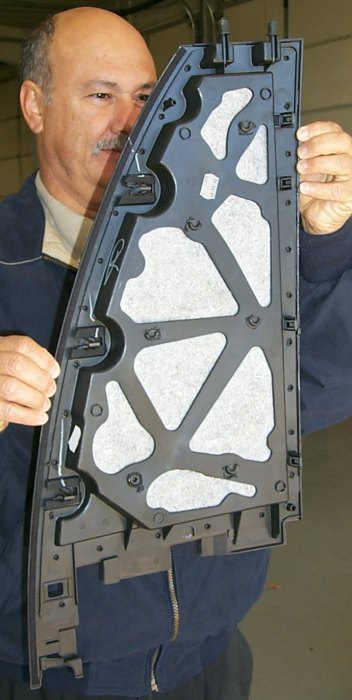
Removing Left Inside Cover

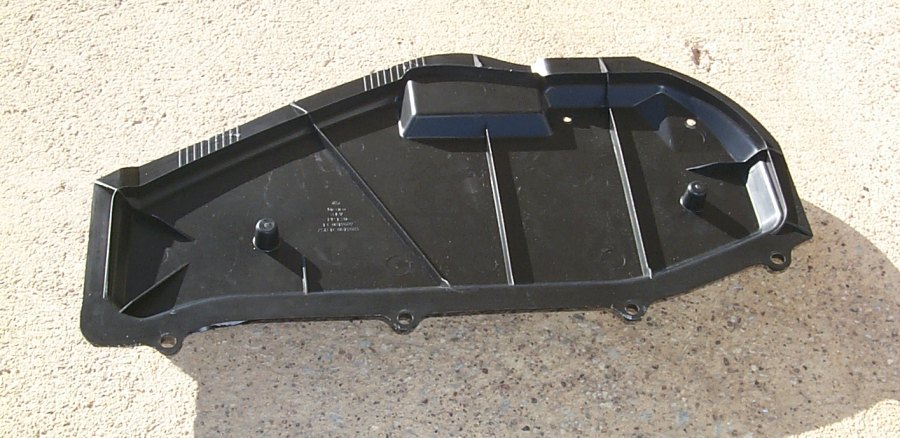
Left inside cover location and piece detail.
| This panel comes off next. The left photo shows a detail of it installed and the right one shows the panel removed. It is attached with six Torx 20 screws, which once removed allow the cover to be pulled out with a little tugging. There are no clips holding it so you can tug away. |
|
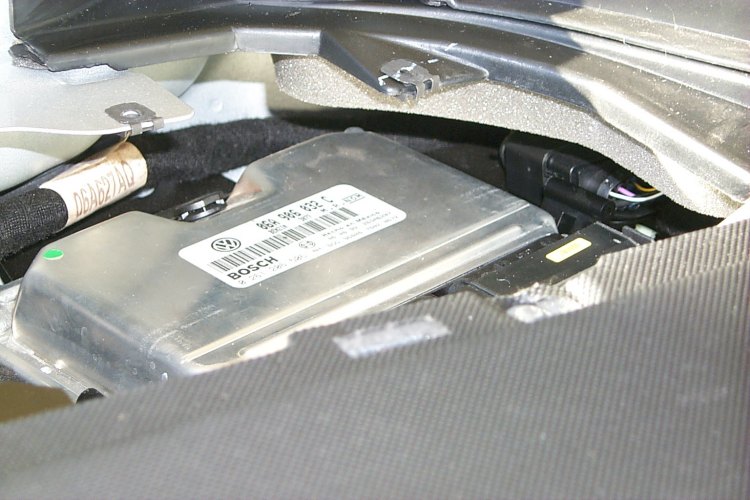
Hooking It Up The ECU is connected to the wiring harness with two large cables. Each of them has a device you pull out from the center of the connector to free it from the ECU. Once each connector is removed, the ECU easily snaps from the two clips that hold it in place. |
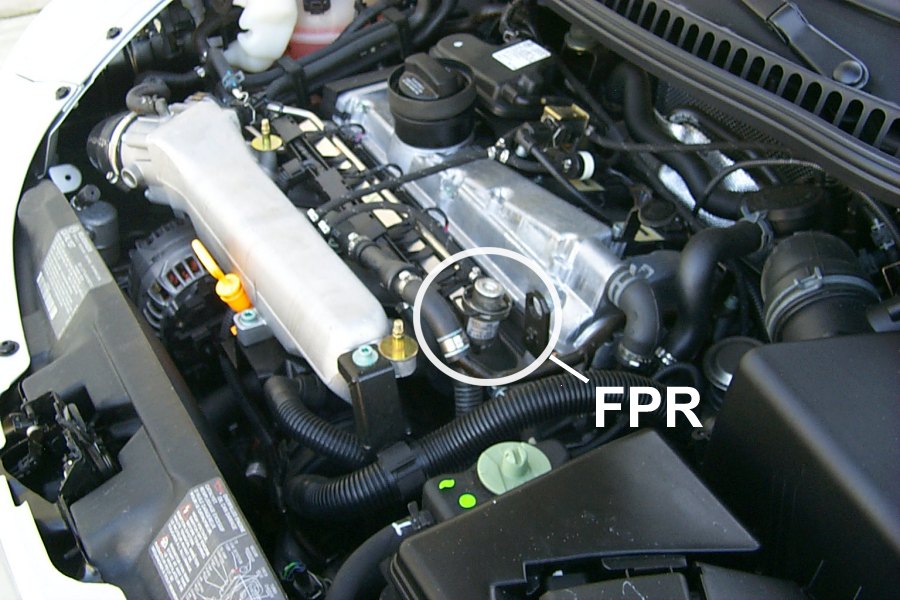
Fuel Pressure Regulator
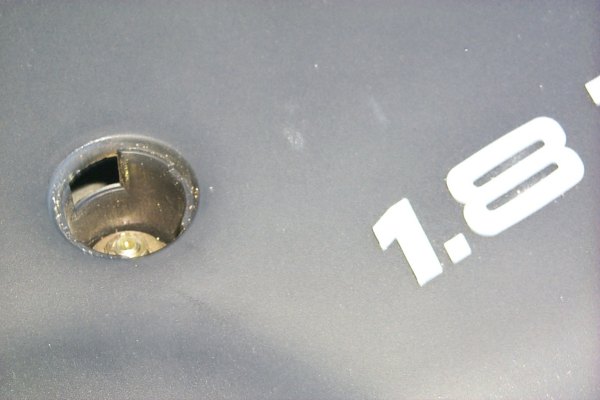
|
Changing out the Fuel Pressure Regulator (FPR) is required as part of the upgrade
using the GIAC chip. I got my new FPR, VW part number 078.133.534.C from my
dealer. They had to order it and it cost me $73.40 plus tax. I believe
they are cheaper from AWE.
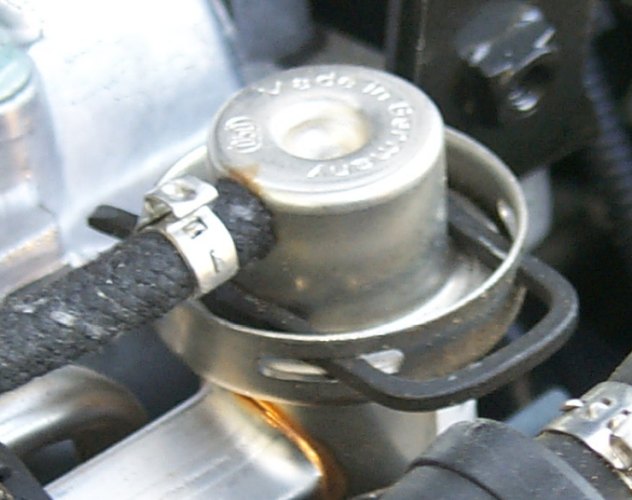
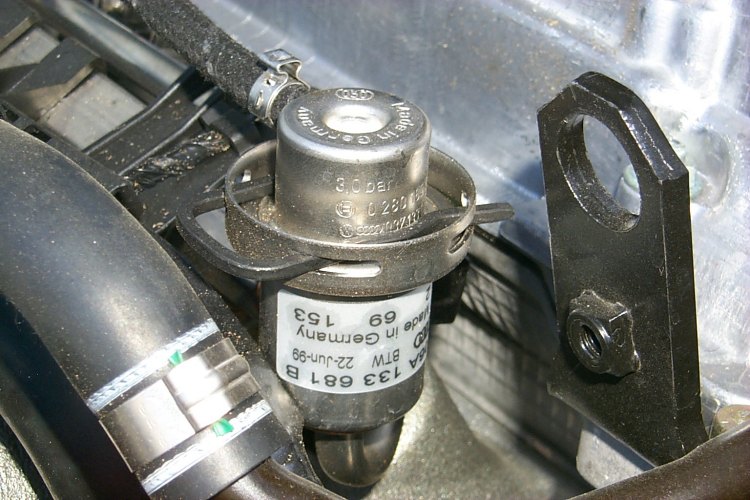
Instructions for installation of the FPR are located on the
GIAC site.
If you choose to do this yourself, make sure you do it on a cold
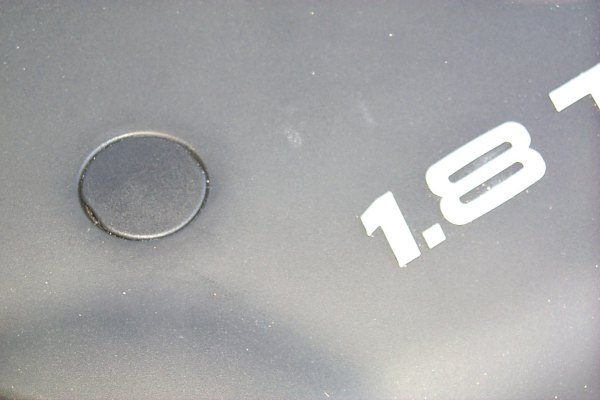
engine as fuel may spill when you remove the installed FPR. Different than the installation instructions on the GIAC site, I found I needed to remove only two screws on the engine cover, using a 10mm socket. You can easily pop off the two engine cover bolt covers with a small screwdriver. While installing the new FPR, I discovered the very small hose clamp was not reusable. Unable to get a replacement clamp that small, I used a black wire tie. I suggest you plan to have one on hand when you start this. In my case, the installation of the new FPR required much more force to put it in place with the restraining clip than I expected. Talking with Garrett, this is unusual. |
|
Comparison Of ECU Connector "Key's" 1999 vs 2000 These photos show the difference in the "key" inside the large connector between the one I received from GIAC and the one installed in my 2000 1.8t. This initially prevented me from being able to install the new ECU. Once I notified Garrett of the problem, he quickly went to work getting a replacement 2000 model ECU. |
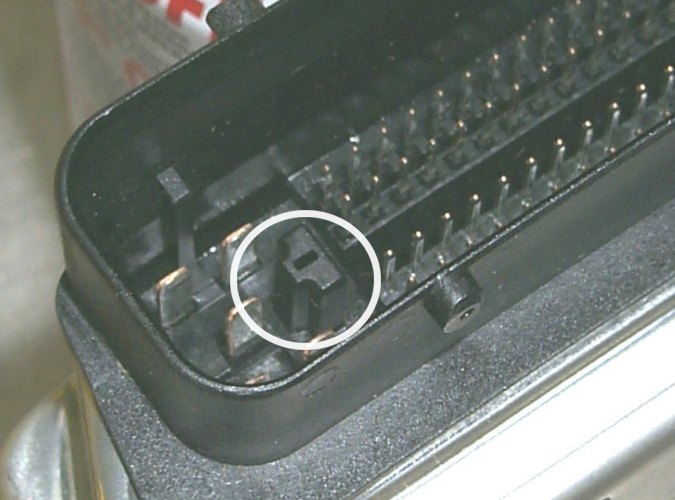 1999 ECU Connector Key |
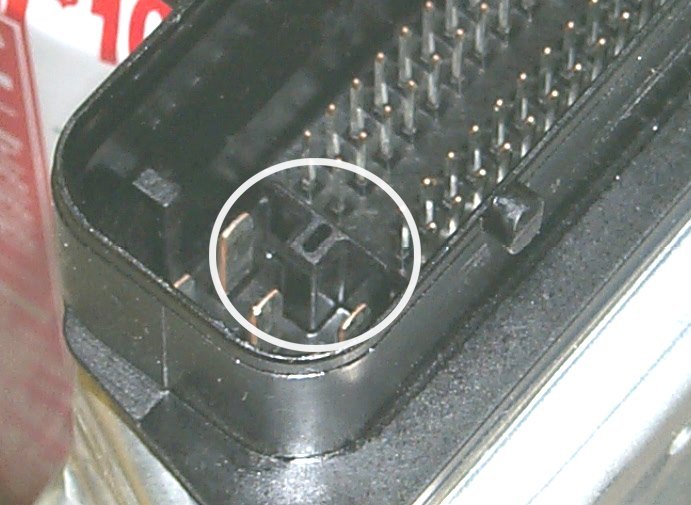 2000 ECU Connector Key |
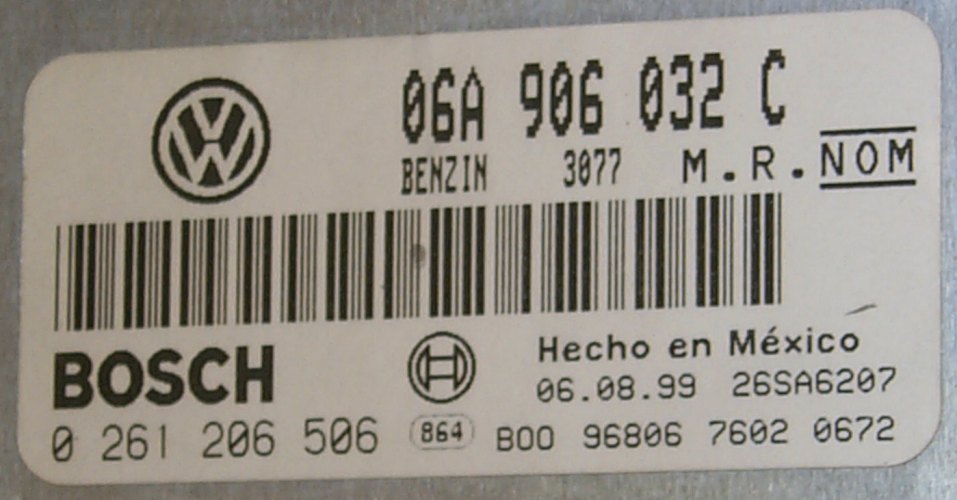
My 2000 1.8t ECU Label
Jar Jar
| 18" Mille Miglia Spider silver wheels, Bridgestone S-02 225/40 tires, Neuspeed front and rear sway bars and sport springs, Bilstein Shocks, Borla SS cat-back exhaust, GIAC chip, drilled rotors, Cool Flow Air Intake, all in Dallas. |
Copyright 1999-2000, Philip Wise
All Rights Reserved