| ||
Writer, Editor: Archie Goodwin Artist: Carmine Infantino Artist: Terry Austin Letterer: Joe Rosen Colorist: Janice Cohen Consulting Editor: Roy Thomas CHARACTER Featured Han Solo, Chewbacca, Princess Leia Organa Solo Supporting Crimson Jack, Jolli Guest Luke Skywalker Cameo General Jan Dodonna (in Flashback), Jaxxon (in Flashback), Jimm (Starkiller Kid) (in Flashback), Don-Wan Kihotay (in Flashback), Amaiza (in Flashback), Hedji (in Flashback) CREATURE sea-dragon (both green and red variation) DROID R2-D2 (Artoo Detoo), C-3PO (See Threepio)FE-9Q (Effie) (in Flashback) LOCATION Drexel I (unnamed water planet), Aduba-3 (in background as Falcon leaves) ORGANIZATION Dragon Lords, space pirates STARSHIP Luke's spacecraft, Millennium Falcon, Crimson Jack's Cruiser, Escape pod TECHNOLOGY electrobinoculars (single handed version) | ||
| Related Issues | ||
    | ||
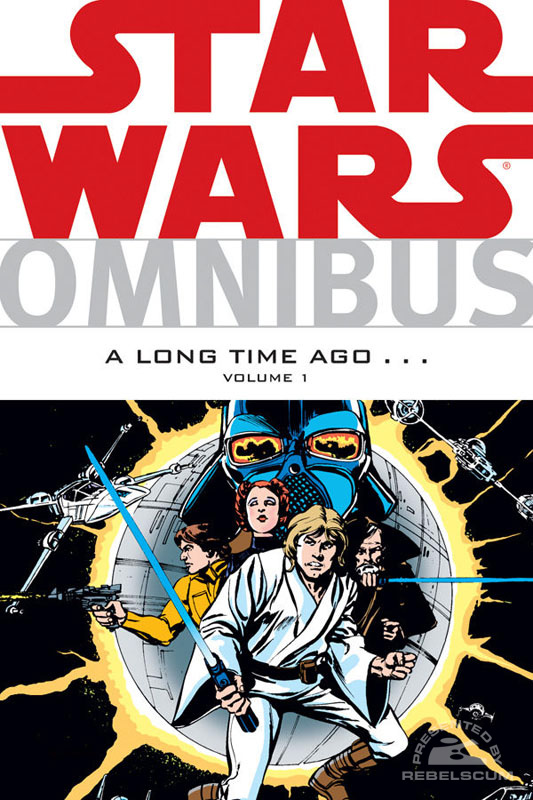
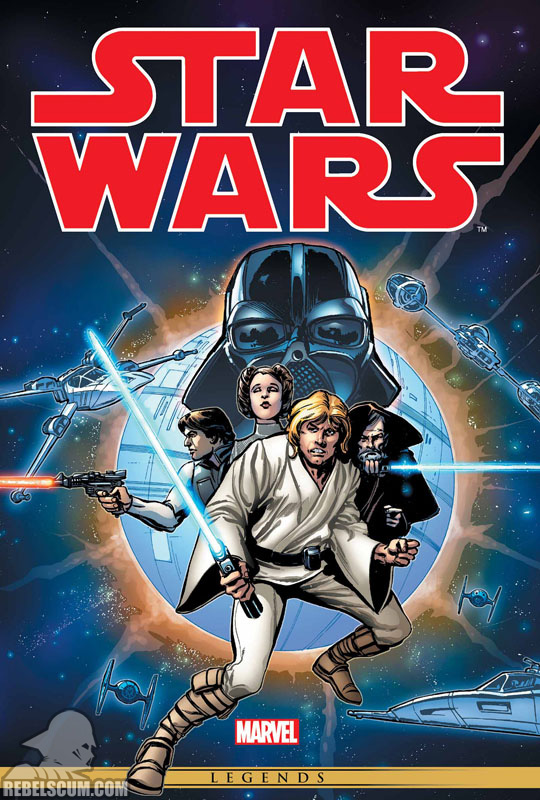
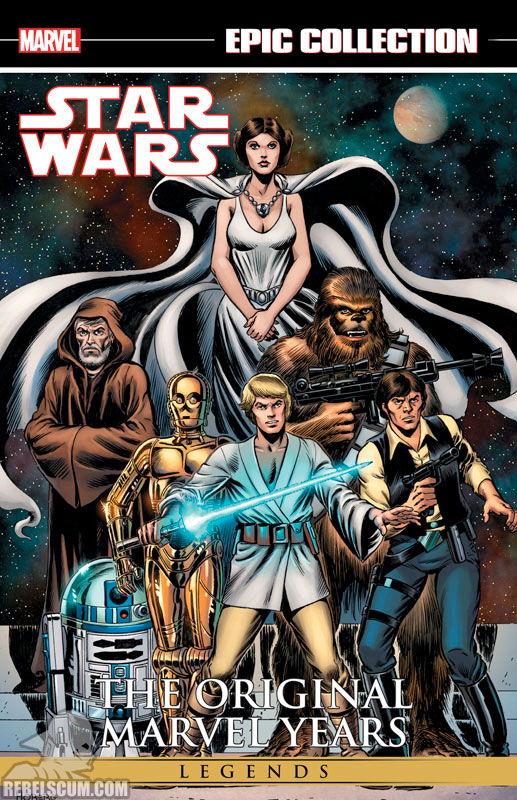
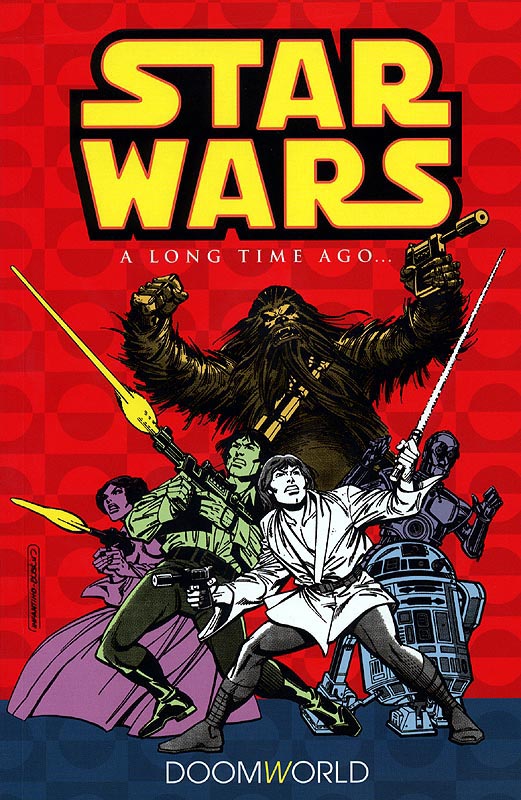
| Trade Paperbacks and Alternate Covers | ||
    | ||
  | ||


Though both listed as artists, Carmine Infantino is primarily a penciler and Terry Austin is primarily an inker.
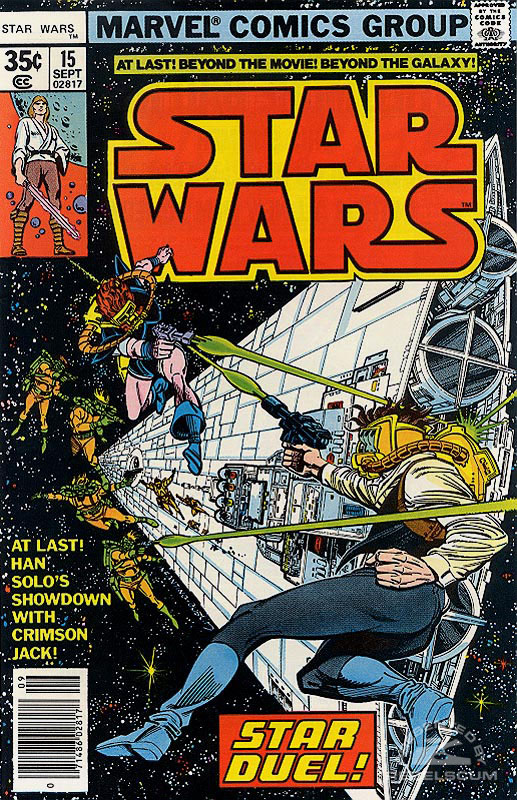
Han Solo and Chewbacca are blasting away from their adventures on Aduba-3, while Han recalls the good times they had with their star-hopping compatriots. They enter lightspeed en route to the Yavin system, but drop out just shy of it, so as not to run into any Imperial entanglements.
As they cut in the sub-light engines, they encounter and are captured by Crimson Jack and his pirate band. Han and Chewie discover that Leia has been abducted by Jack as well, in hopes to extract some information from her to sell to the Empire. Jack intends to make examples of Solo and his Wookiee companion to demonstrate what Leia is in store for. Dodging the laser fire, Solo manages to snag a rifle from one of the pirates and covers Captain Jack. He stalls long enough to convince Jack that he has information on a huge treasure, plus the ability to get what he wants from the princess.
Later, in Jack's quarters, while enjoying a feast, Han admits that the treasure stolen from him during their last encounter was from the Rebel treasury. And he can lead the pirates to the location. Leia plays along telling them that she can't stop Solo from leading them through the defensive grid in the Drexel system, before asking to return to her cell. Jack returns to the bridge and turns his ship in the direction of the Drexel system.
Down in the retention block, Jolli escorts Leia into her cell and tells the princess about her hatred for men in general. She closes Leia in the cell, upset and confused with her feelings that she has shared. Leia recalls how she ended up imprisoned on Crimson Jack's ship, instead of searching for Luke when he mysteriously disappeared.
Back on the bridge, Jack admits to Solo that he doesn't have the coordinates to the Drexel system. Han has them on the Falcon but needs Chewie to go get them. Jack agrees, as long as Chewie doesn't try anything funny. Han wonders why Luke would have gone to this seldom charted system, and why Leia would include them in the rescue.
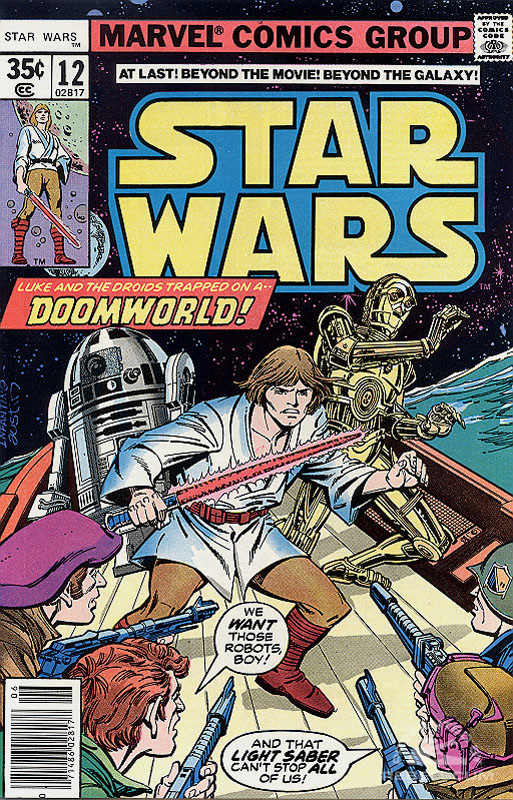
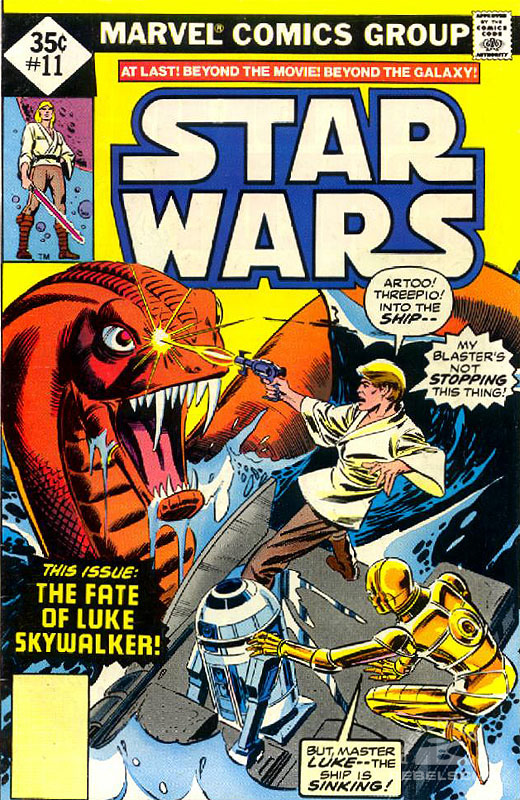
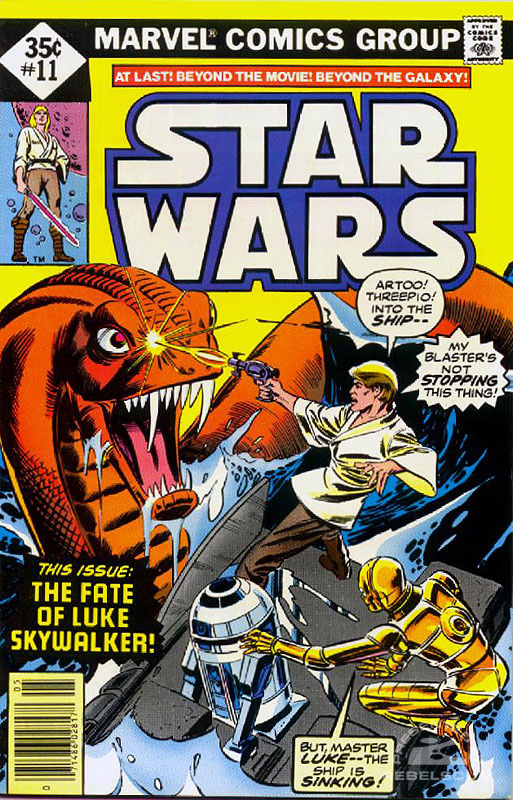
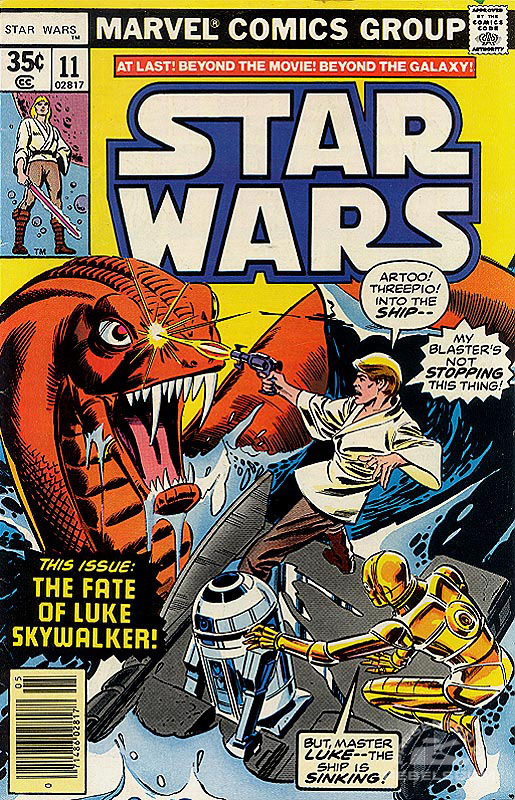
At that very moment on Drexel's water planet, Luke and the droids are avoiding the attack of a large red water dragon by hiding in their sinking and flooding spacecraft. Artoo helps them make their way into the escape pod, which he ejects just in time. Safely away from the sinking spacecraft, Luke spies another water dragon; this one is green and has a rider.