- HOME
- CHANNELS
News Channels
Site Sections
Highlights and Tools
- GOT NEWS?
Main Site
- Submit News
Or, Select a Staff Member
- Jay Shepard
Rebelscum Languages
- PHOTO ARCHIVE
Collectibles by Company
- Bandai
- Disney
- Disney Infinity
- EFX Collectibles
- Gentle Giant
- Hasbro
- Hot Toys
- Kotobukiya
- Sideshow Collectibles
- Others
Older Companies
- STORES
Rebelscum is a news and photo reference site for Star Wars toys and collectibles. We do not sell toys. Please support our site by shopping with one of our sponsors.
Recommended Stores
- BigBadToyStore.com
- Entertainment Earth
- Official Pix
Still can't find it?
- eBay
- R2-D2 Parts
Cool Stuff
- Amazon
- Gentle Giant
- eFX
- REBELSCUM CONS
- FORUM

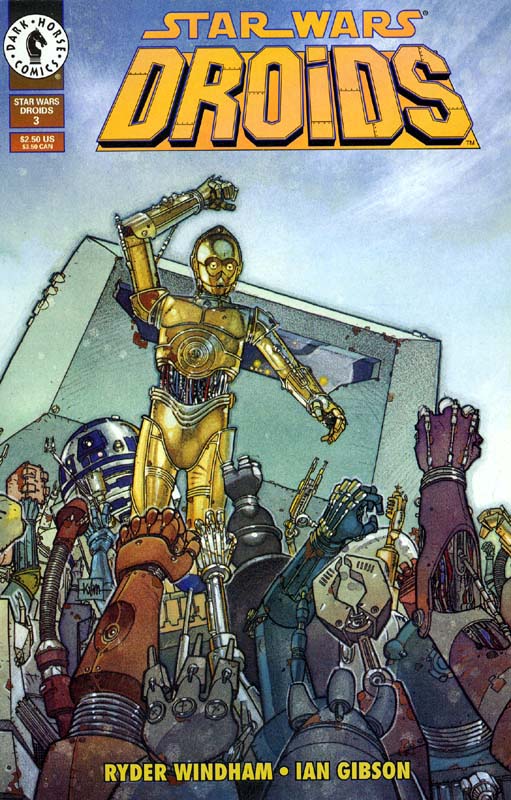
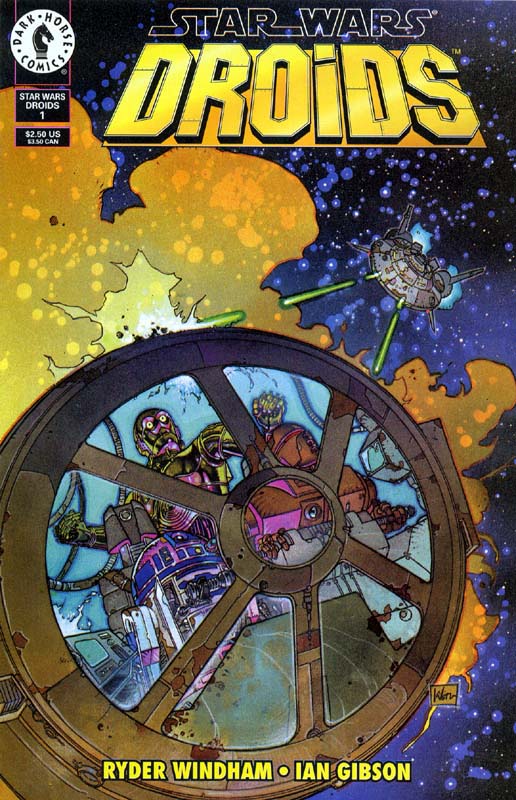
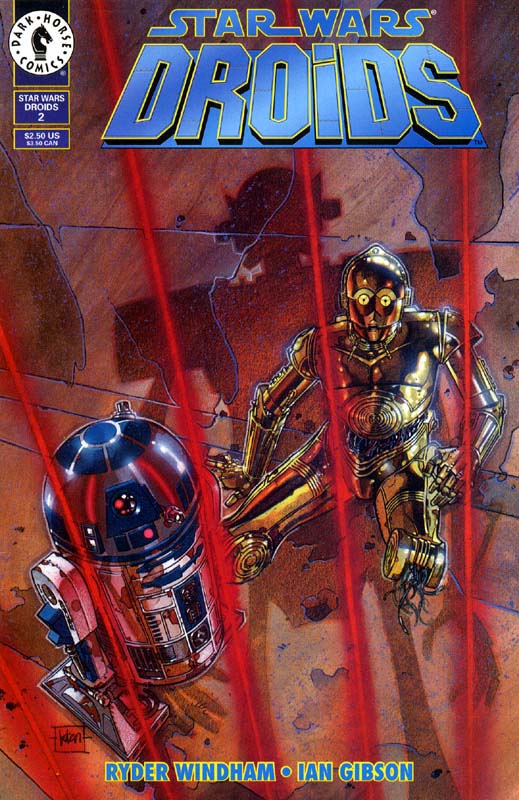
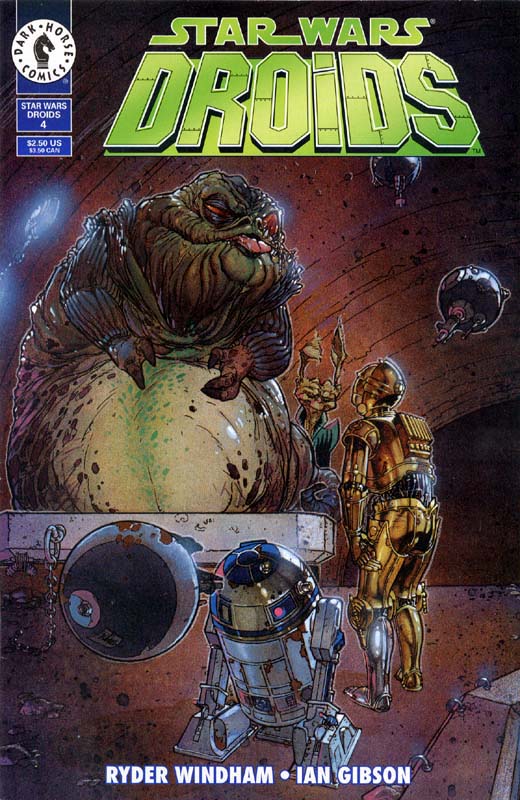
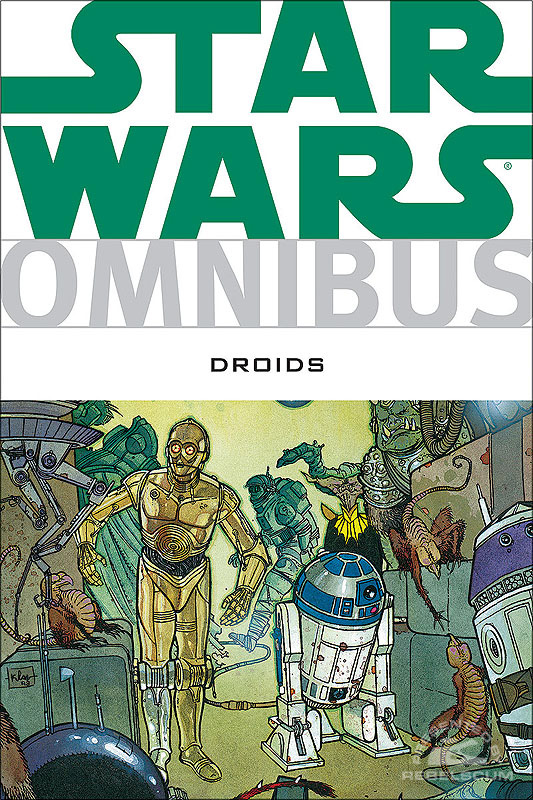
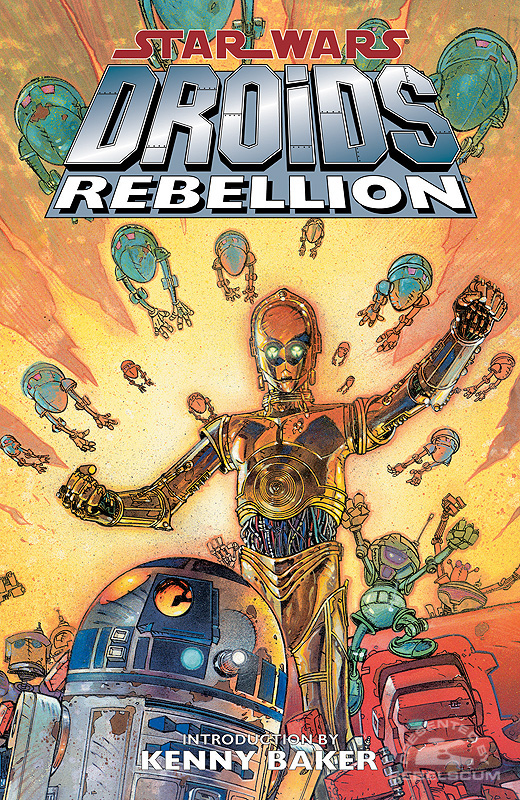

The ship flown by Jace Forno is different in this issue than the one seen back in Droids #4. Also the escape pod, as it is called by B-9D7, looks to be more of a spaceship design, than the standard pod.
This issue features the letter page Droid Barge with letters from David Peattie, Ryan Jensen, Rich Hohenrath, and Alex Newborn.
On Nar Shaddaa, B-9D7 is telling Jace Forno, that they must now stop the R2 unit from reaching the drone barge. She smacks him with her security helmet, claiming that she won't take orders from droids. The droid reminds her that she promised to carry out Movo Brattakin's final campaign. She finally relents and they head off after Artoo.
Meanwhile, Threepio is discussing the impending memory wipe with another droid, when he mistakenly insults a giant red 5th degree droid. Threepio is not actually apologizing to this other droid, who manages to toss him around the barge for fun, while Threepio whines about the memory wipe and the fact that at least he won't recall this encounter.
Jace Forno and B-9D7 catch up with Artoo in his open-air skiff. She locks onto it with a tractor beam before B-9 knocks her unconscious and leaves a hologram cube next to her. He races to the docking bay, and explains to Artoo that they must hurry if they are to save Threepio. They jettison from the spaceship in an escape pod, as B-9D7 explains Movo Brattakin's plan.
Threepio continues to be battered around by this larger droid, as the ships computer counts down to the memory wipe. When the count reaches five, something happens to Threepio and utters a voice override on the countdown, before hitting the larger droid in a precise place and knocking it out.
Threepio then becomes very un-C-3PO-like and begins orating about the mistreatment of droids. He goes on about Boonda the Hutt and his implementation of program traps into his droids. He incites the other droids to rise up with him and stop this evil Hutt before he can kill another droid. Artoo and B-9D7 dock with the barge and enter just as Threepio has encouraged a large number of droids to fight with him. Then he turns the ship towards Boonda's Moon.
B-9D7 tries to reason out what may have happened to Threepio with Artoo. Elsewhere, Jace wakes up from being stunned and plays the hologram left for her. It is from Movo, and he goes on to explain that he will be dead soon, and provides some information about Boonda to her.
Threepio, with Artoo's help manages to land the barge on Boond'as Moon. He triggers the door, which opens to show large piles of scrap droids. The protocol droid, turned orator, is shocked and swears that Boonda will pay for this destruction.