Rebelscum is a news and photo reference site for Star Wars toys and collectibles. We do not sell toys. Please support our site by shopping with one of our sponsors.
Posted by Jeremy on December 3, 2019 at 03:41 AM CST
At the age of forty-eight I get odd looks from friends when they find out I spend much of my free time building LEGO Star Wars models, and when I tell them that I get to write reviews and share my thoughts on the latest sets their reactions change from mild amusement to confusion.
When the opportunity to build the new 75252 Imperial Star Destroyer and review it on Rebelscum came up it couldn't have been at a worse time - I was neck deep in a real-world building project that was taking up every shred of every moment in my life - spare or not - and I knew that juggling both projects would be an impossible task.
To help out I tagged in three friends - each of whom had loaned me their sons and daughters to contribute to Rebelscum's own LEGO Star Wars coverage over the last few years - who readily agreed to donating their free time to build the biggest LEGO set over devised. We knew such a monumental task of planning, organisation and co-ordination would require plenty of sustenance so to seal the deal I offered to lay on a lavish spread of grilled meat and frothy beverages.
And so Burgers, Beers & Bricks was born.
Each of my associate builders brought their own special qualities to the table; Tim is a laywer and is excellent at paying attention to the detailed instructions so that nothing was missed over the course of the +1000 steps, Dave's desire to keep all the bags and elements in order had all the pieces neatly laid out ahead of time, and John utilised his skills and experience from gained from decades of working in construction and chartered surveying ensured that assembly stuck to plan. And of course me, with the dubious talent of providing a running stream of LEGO Star Wars trivia (that was largely ignored) drawn from the depths of my own 20 year history with the theme.
We started out with the naive belief that four organised and experienced LEGO builders could knock this out in a single day. That was before we opened the box and had a look at the instruction book. It dawned on us that the task was bigger than we'd imagined and figured out a plan to work in shifts over the next three days to complete the project, with a big family BBQ and a joint team effort to complete the final section - the mini Tantive IV - of the set to cap it all off.
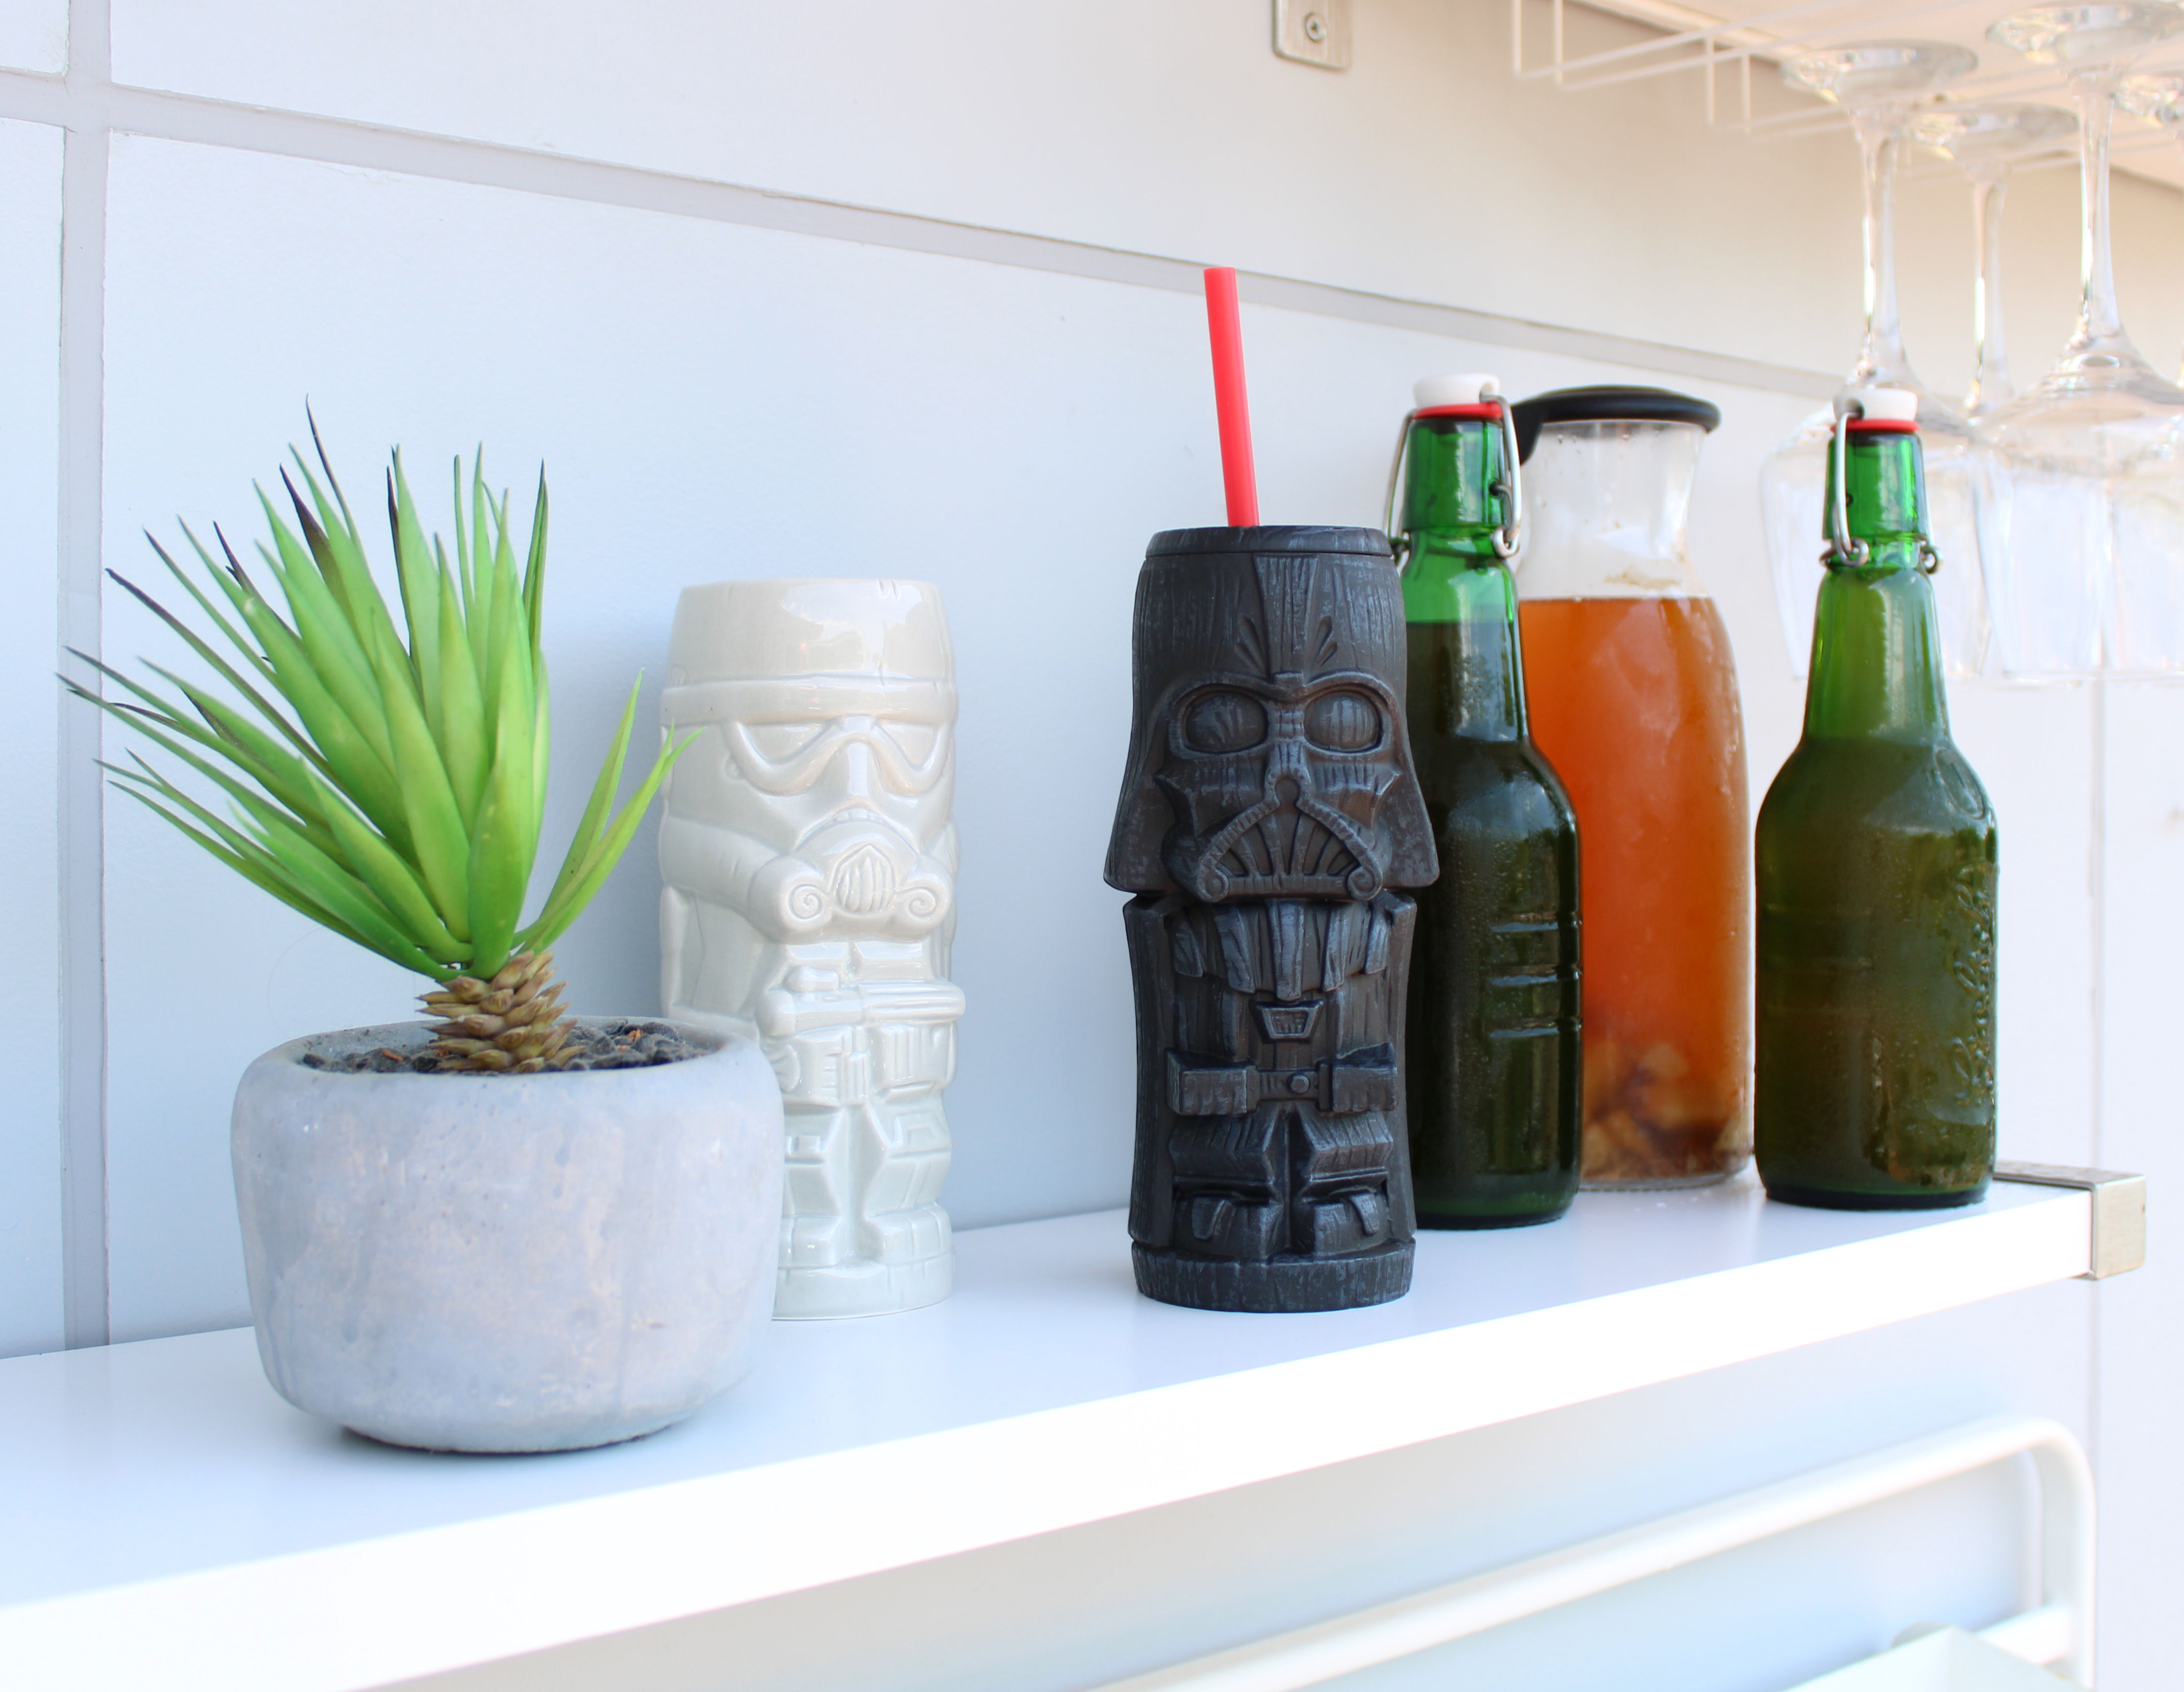
Before we got stuck into the build we took a break for a round of quality Australian steaks and very good beer in the shape of Wakachangi Ale, that latter of which was served in Geeki Tiki mugs to help us maintain the Star Wars theme of the event. With a hot feed and a cold drink the team dispersed back to their homes, full of anticipation for the coming days.
All this planning was thirsty work so refreshments were called for.
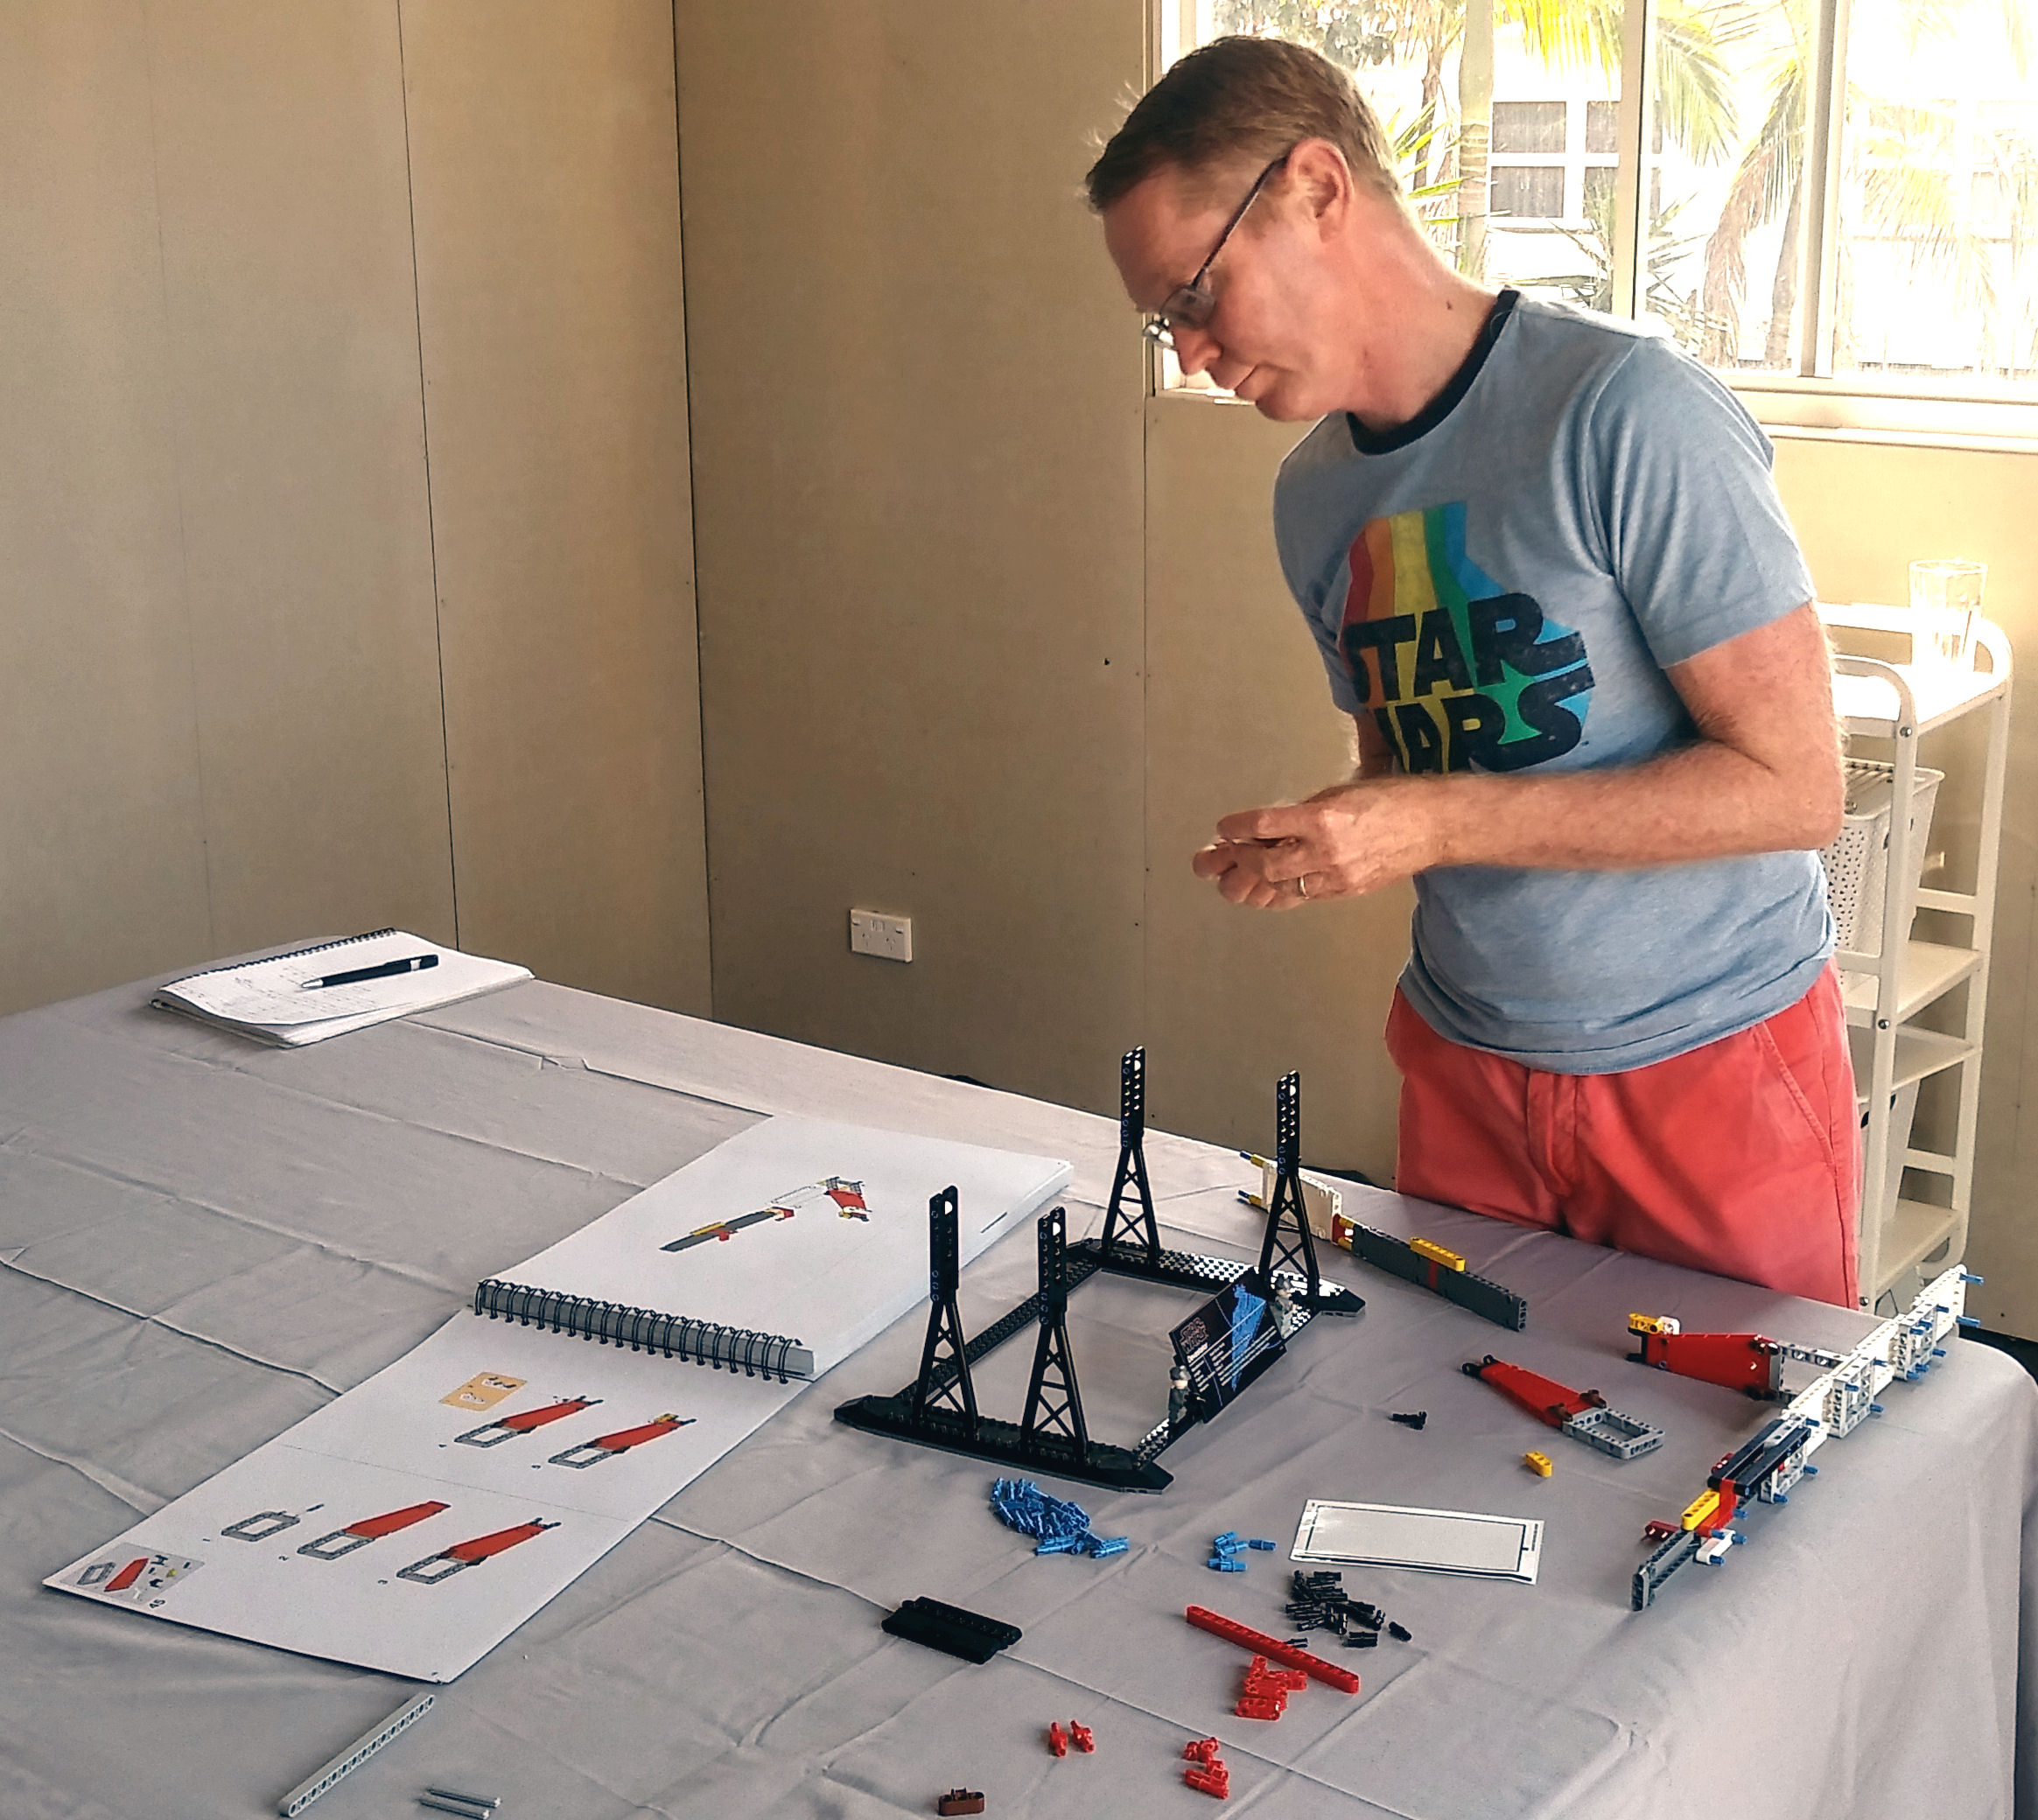
Tim drew the straw for day one, and with him in attendance I dutifully laid the first brick. We were off! Despite a short-lived panic that a piece was missing - it wasn't, nor were any parts, a testament to the automation and quality control LEGO employs - the display stand soon the had the set's two minifigures and a large triangle attached to it. Feeling like a pair of giddy 4+ years olds who'd just been given their first LEGO Star Wars sets, we made a pact that being over-hasty was the last thing we needed, and we settled into a sustainable pace.
It wasn't long before we did a happy dance when we completed the first box - or at least we thought we had. After a quick check we realised that 75 minutes was far too short a time to have completed the first quarter of the build. Then the truth hit us: we'd only finished the first set of bags and we still had the best part of the full 57 bags still to go.
Tim demonstrates his Star Wars pride at the start of the build.
With full bellies full and light heads we saw the most monotonous of stages - the detailing that goes on the lateral edges of the Star Destroyer - done and dusted, before we moved on to complete several sections of the hull plating. By the end of the first day we could see a light at the end of the tunnel. Taking a moment to reflect on our efforts brought on a bout of reminiscing and the startling discovery that all three of us shared more than one common bond - our first Technic build was the 8860 Car Chassis, released in the early 80s!
With the day coming to a close and Dave having to head home, Tim and I decided that we'd tackle the top-most section of The Devestator's command tower. After opening one after another and bags, laying out more pieces than we'd reckoned on we decided that this was a bridge too far, and called it for the day.
Dave finishes off the frame before starting on the dreaded greebly strips.
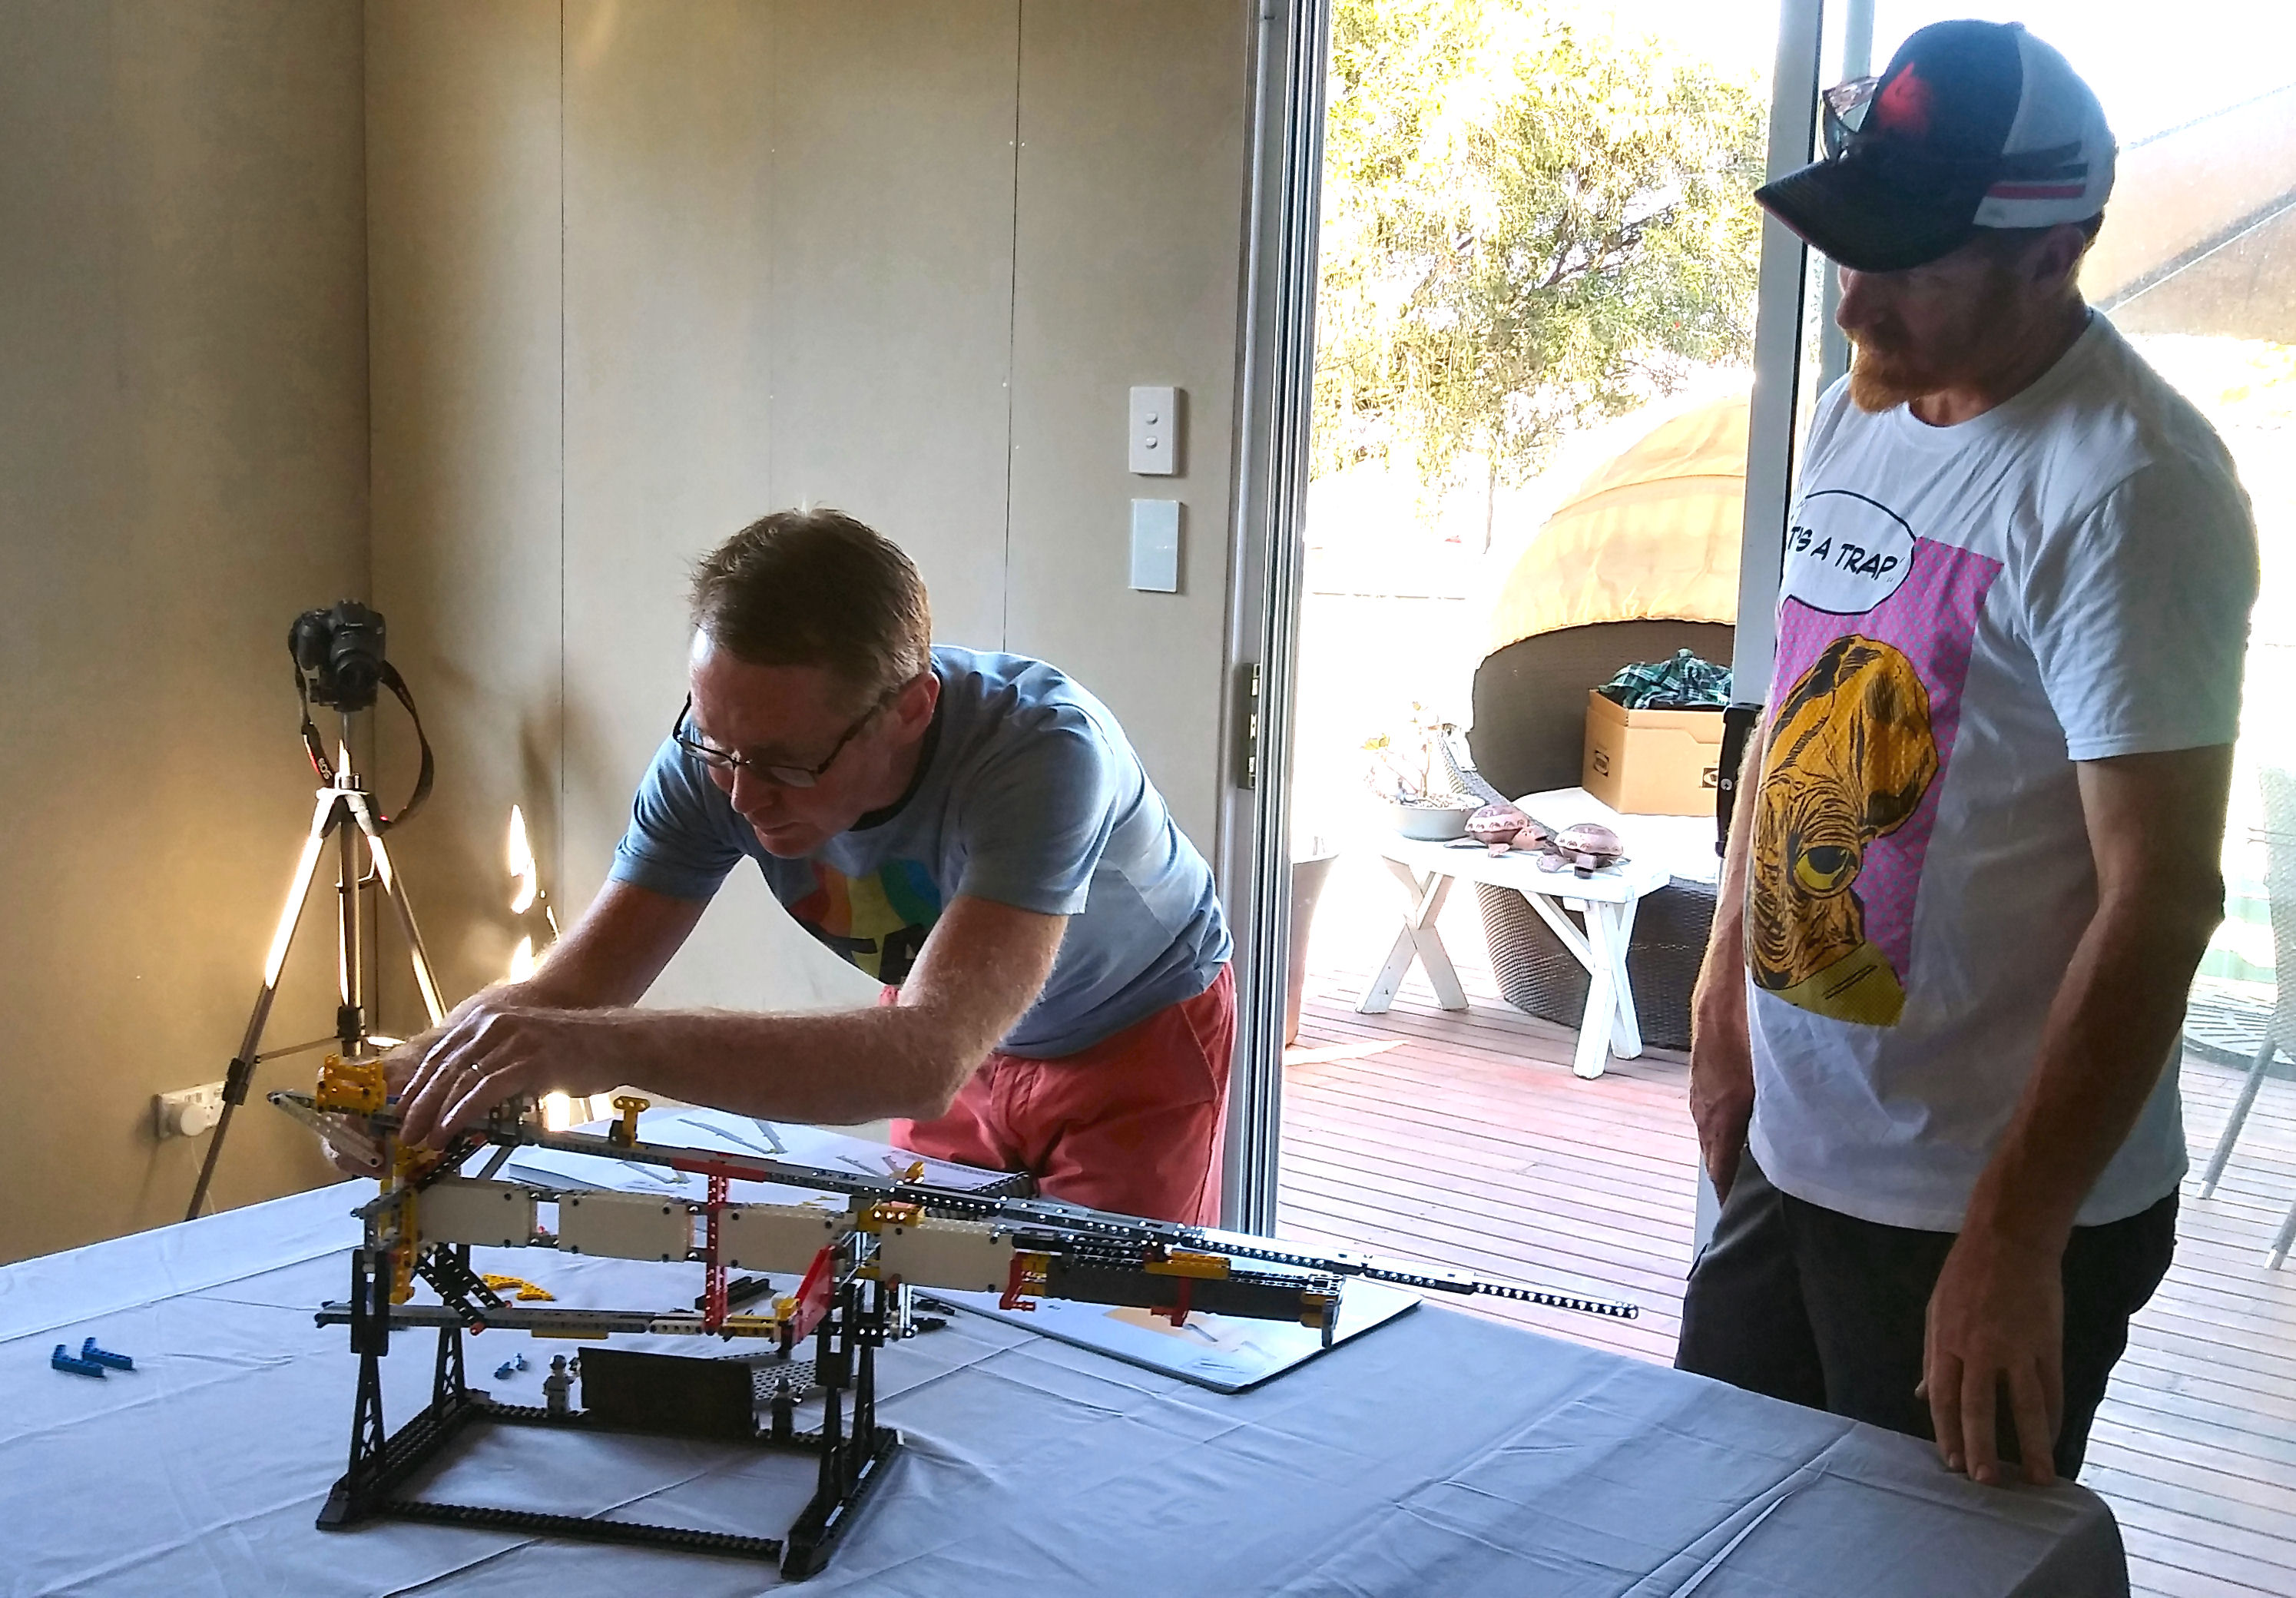
With the promise of freshly ground chuck, brioche burger rolls, crunchy lettuce and a secret burger sauce that In 'N' Out might have a problem with, it wasn't hard to persuade John to come over for a couple of hours to provide some muscle on day two. His eyes lit up at the chance to take the lead on the engines, and he admitted they were his favourite features of this Star Destroyer set, which he'd been eyeing up on LEGO.com for the last couple of days.
Having come from a construction background I knew John would enjoy a pre-job safety talk (which included a quick round of Geeki Tiki tumblers filled with amber Gold) so I outlined several important requirements before we started: teeth were not acceptable brick seperators, all hard-soled shoes were to be worn at all times on the build site and baggies were to be opened with caution and reverence. John's addition to the talk was delivered in a typical Aussie way - short, sharp and four lettered. And so we got on with it.
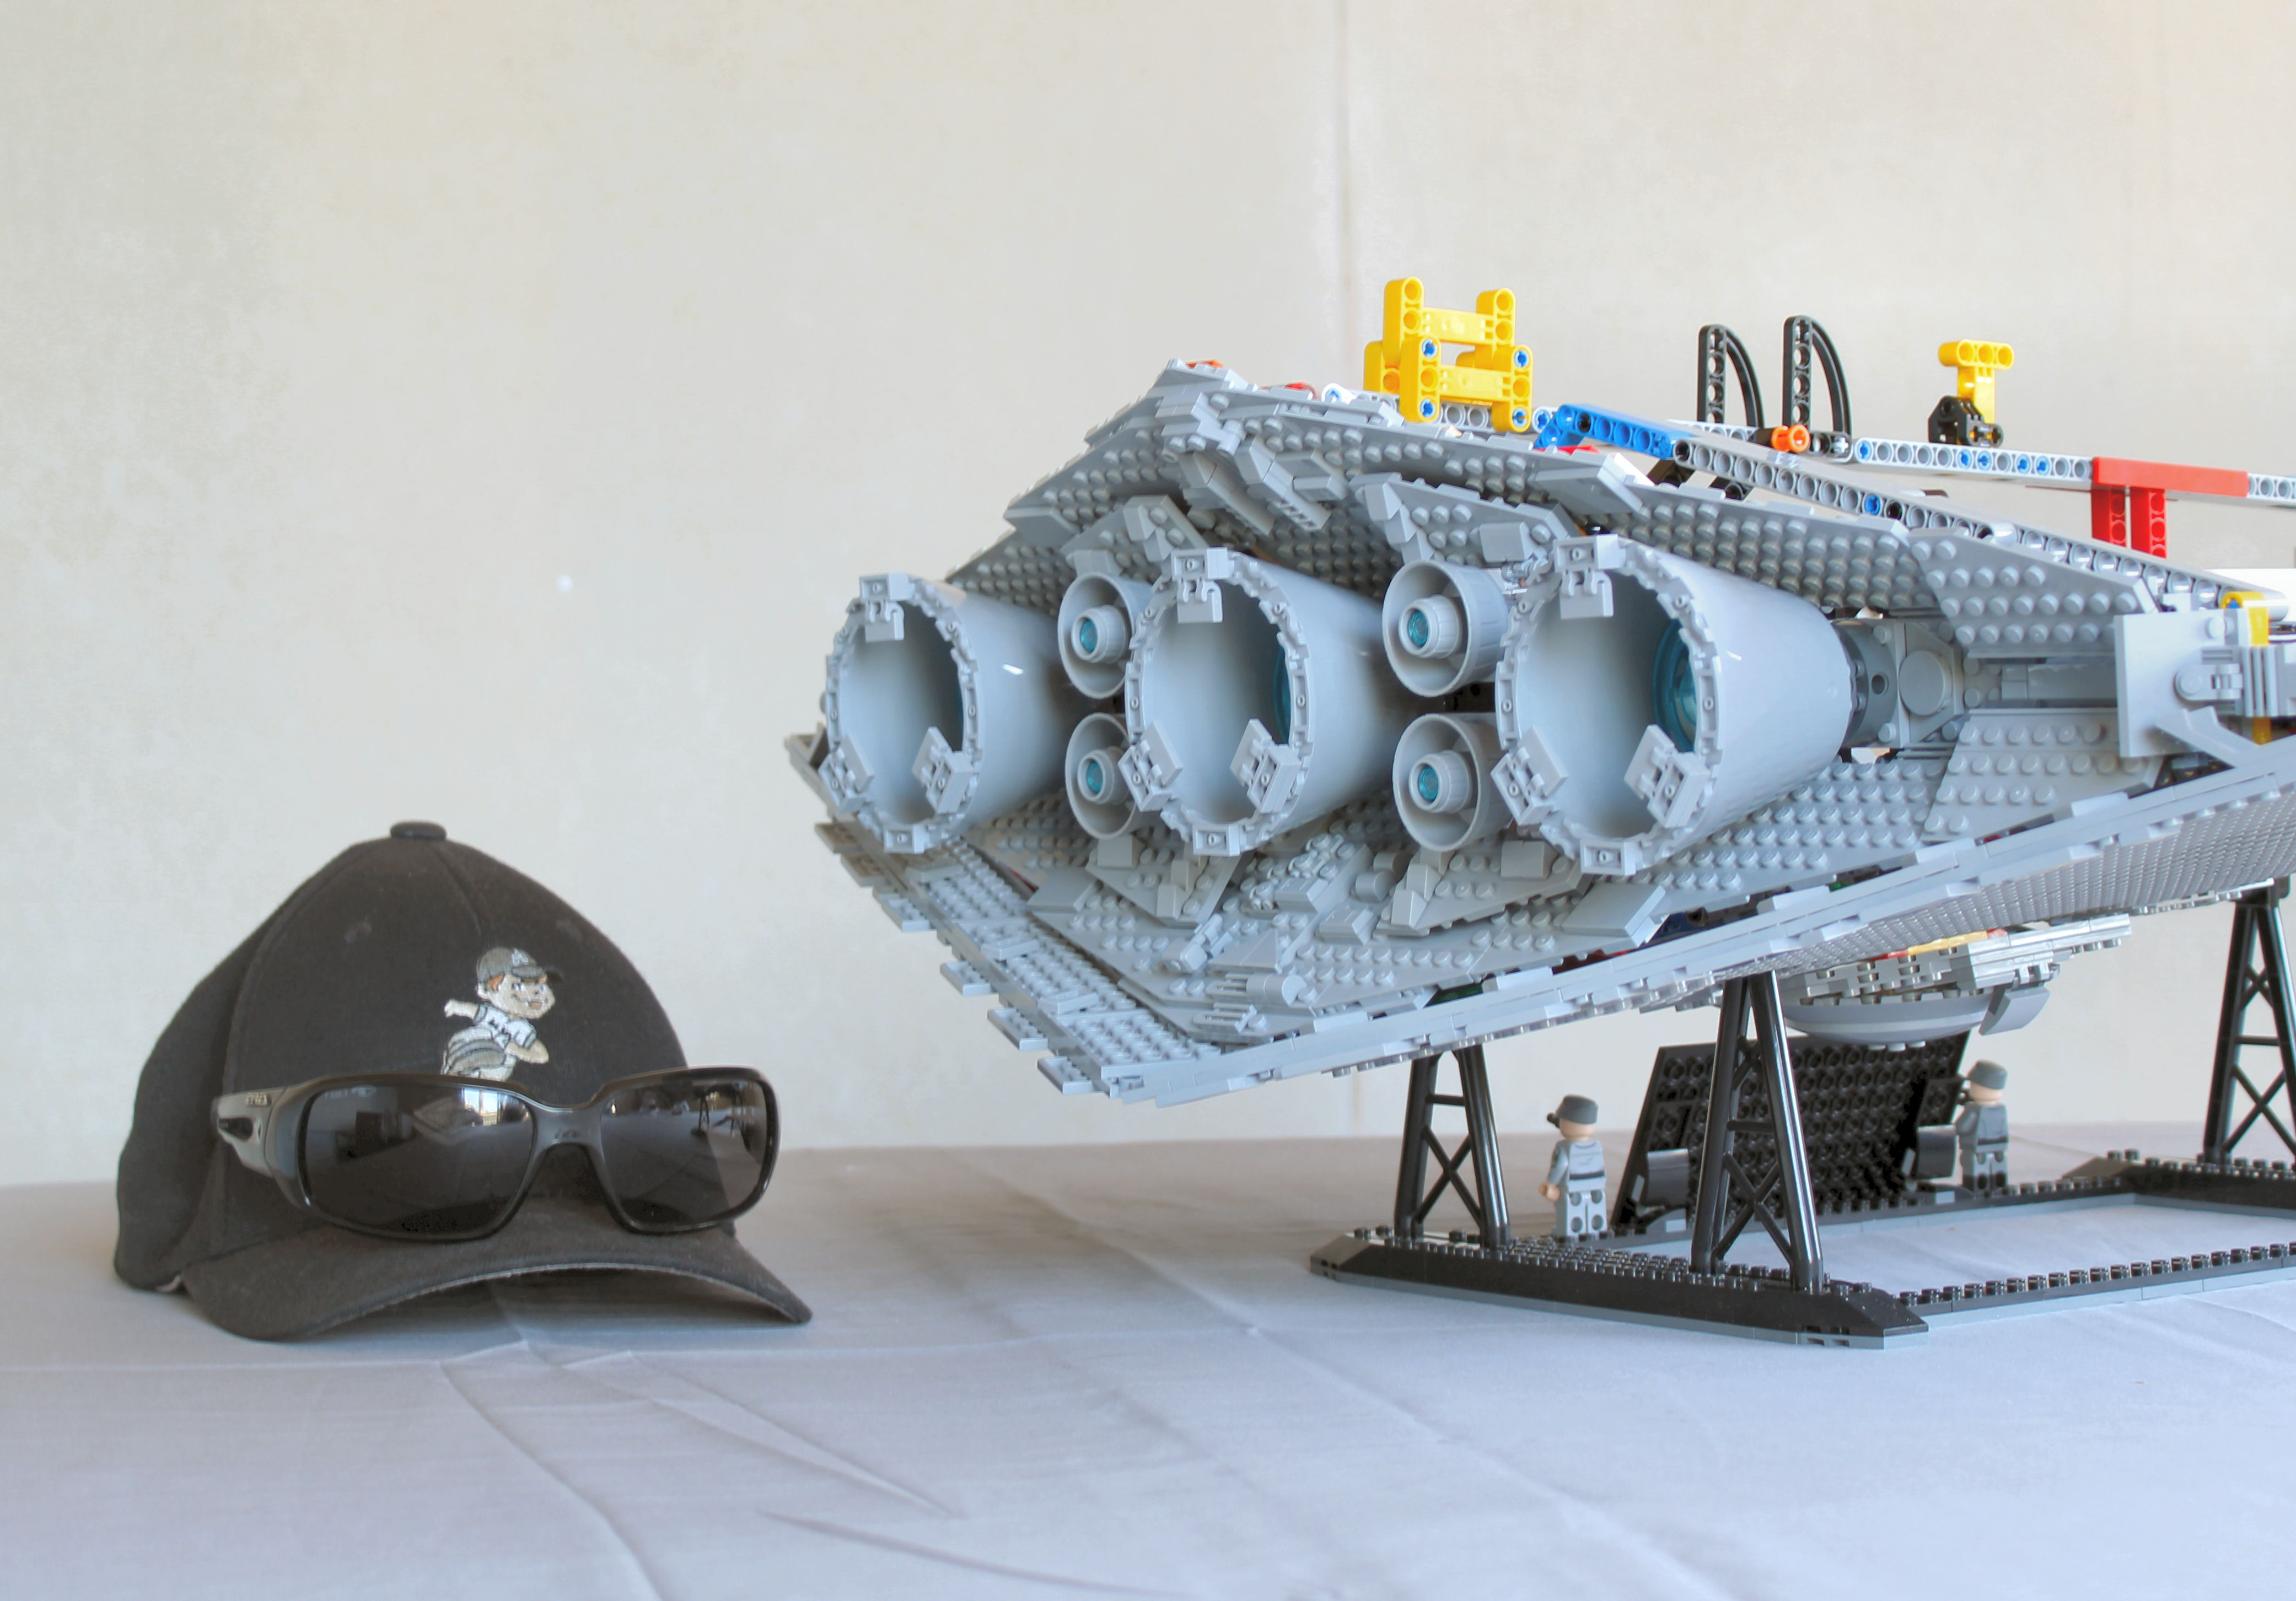
John arrived to add the engine nacelles and maneuvering thrusters to the model and as luck would have it these, he declared with raw excitement in his voice, were his favourite section of the Imperial Star Destroyer. Explaining that "they really show off the size and weight of the space ship", he was particularly pleased with the end result which he reckoned look like they were about to punch through the Imperial Star Destroyer like the V8 engine block in a classic Aussie muscle car.
Feeling a bit camera shy, John proxies in his baseball hat for the shoot.
With his real world work calling, John had to get going but not before he tagged Tim in for a second building session. Their handover created an opportunity for these two closet AFOLs to meet for the first time. Both had loaned me their kids for a couple of projects - including the marathon UCS Millennium Falcon building session that rekindled my LEGO Star Wars passion - but they'd never met until now. Before leaving John and Tim spent some time comparing notes about their UCS Star Destoryer building experience, bonding over their shared interest in LEGO and enjoying a few cold beverages.
By this time it was late enough in the day that a second round of burgers was called for, so Tim and I fired up the BBQ and enjoyed the early afternoon sun while we continued conversing about life, the universe and LEGO. Tummies full and grill squared away Tim and I got back to the table and carried on constructing the Empires big grey triangle of stellar destruction. Progress was more sluggish than we'd hoped for, but the sky was sunny, the weather warm and the chat was flowing so we let the day take its course. Though we didn't make a huge amount of headway towards finishing the UCS Imperial Star Destoryer, Tim did get to add the deck-mounted turbolasers and our friendship certainly progressed as we shared this time together.
With the build team having to return to their lives in Mundania it fell to me to keep to the schedule so I continued as an independant contractor, finding a few hours here and there through the third day three add the multi-tiered superstructure that sits atop the upper hull. As it happens, this was my fvourite section of the build, and one I rememebred fondly from my time constructing the original UCS Imperial Star Destroyer (10030) seventeen years ago. Building the UCS Imperial Star Destroyer on my own didn't feel right though, so I was glad when I'd worked my way through the remaining steps and reached the cherry - the miniature Tantive IV.
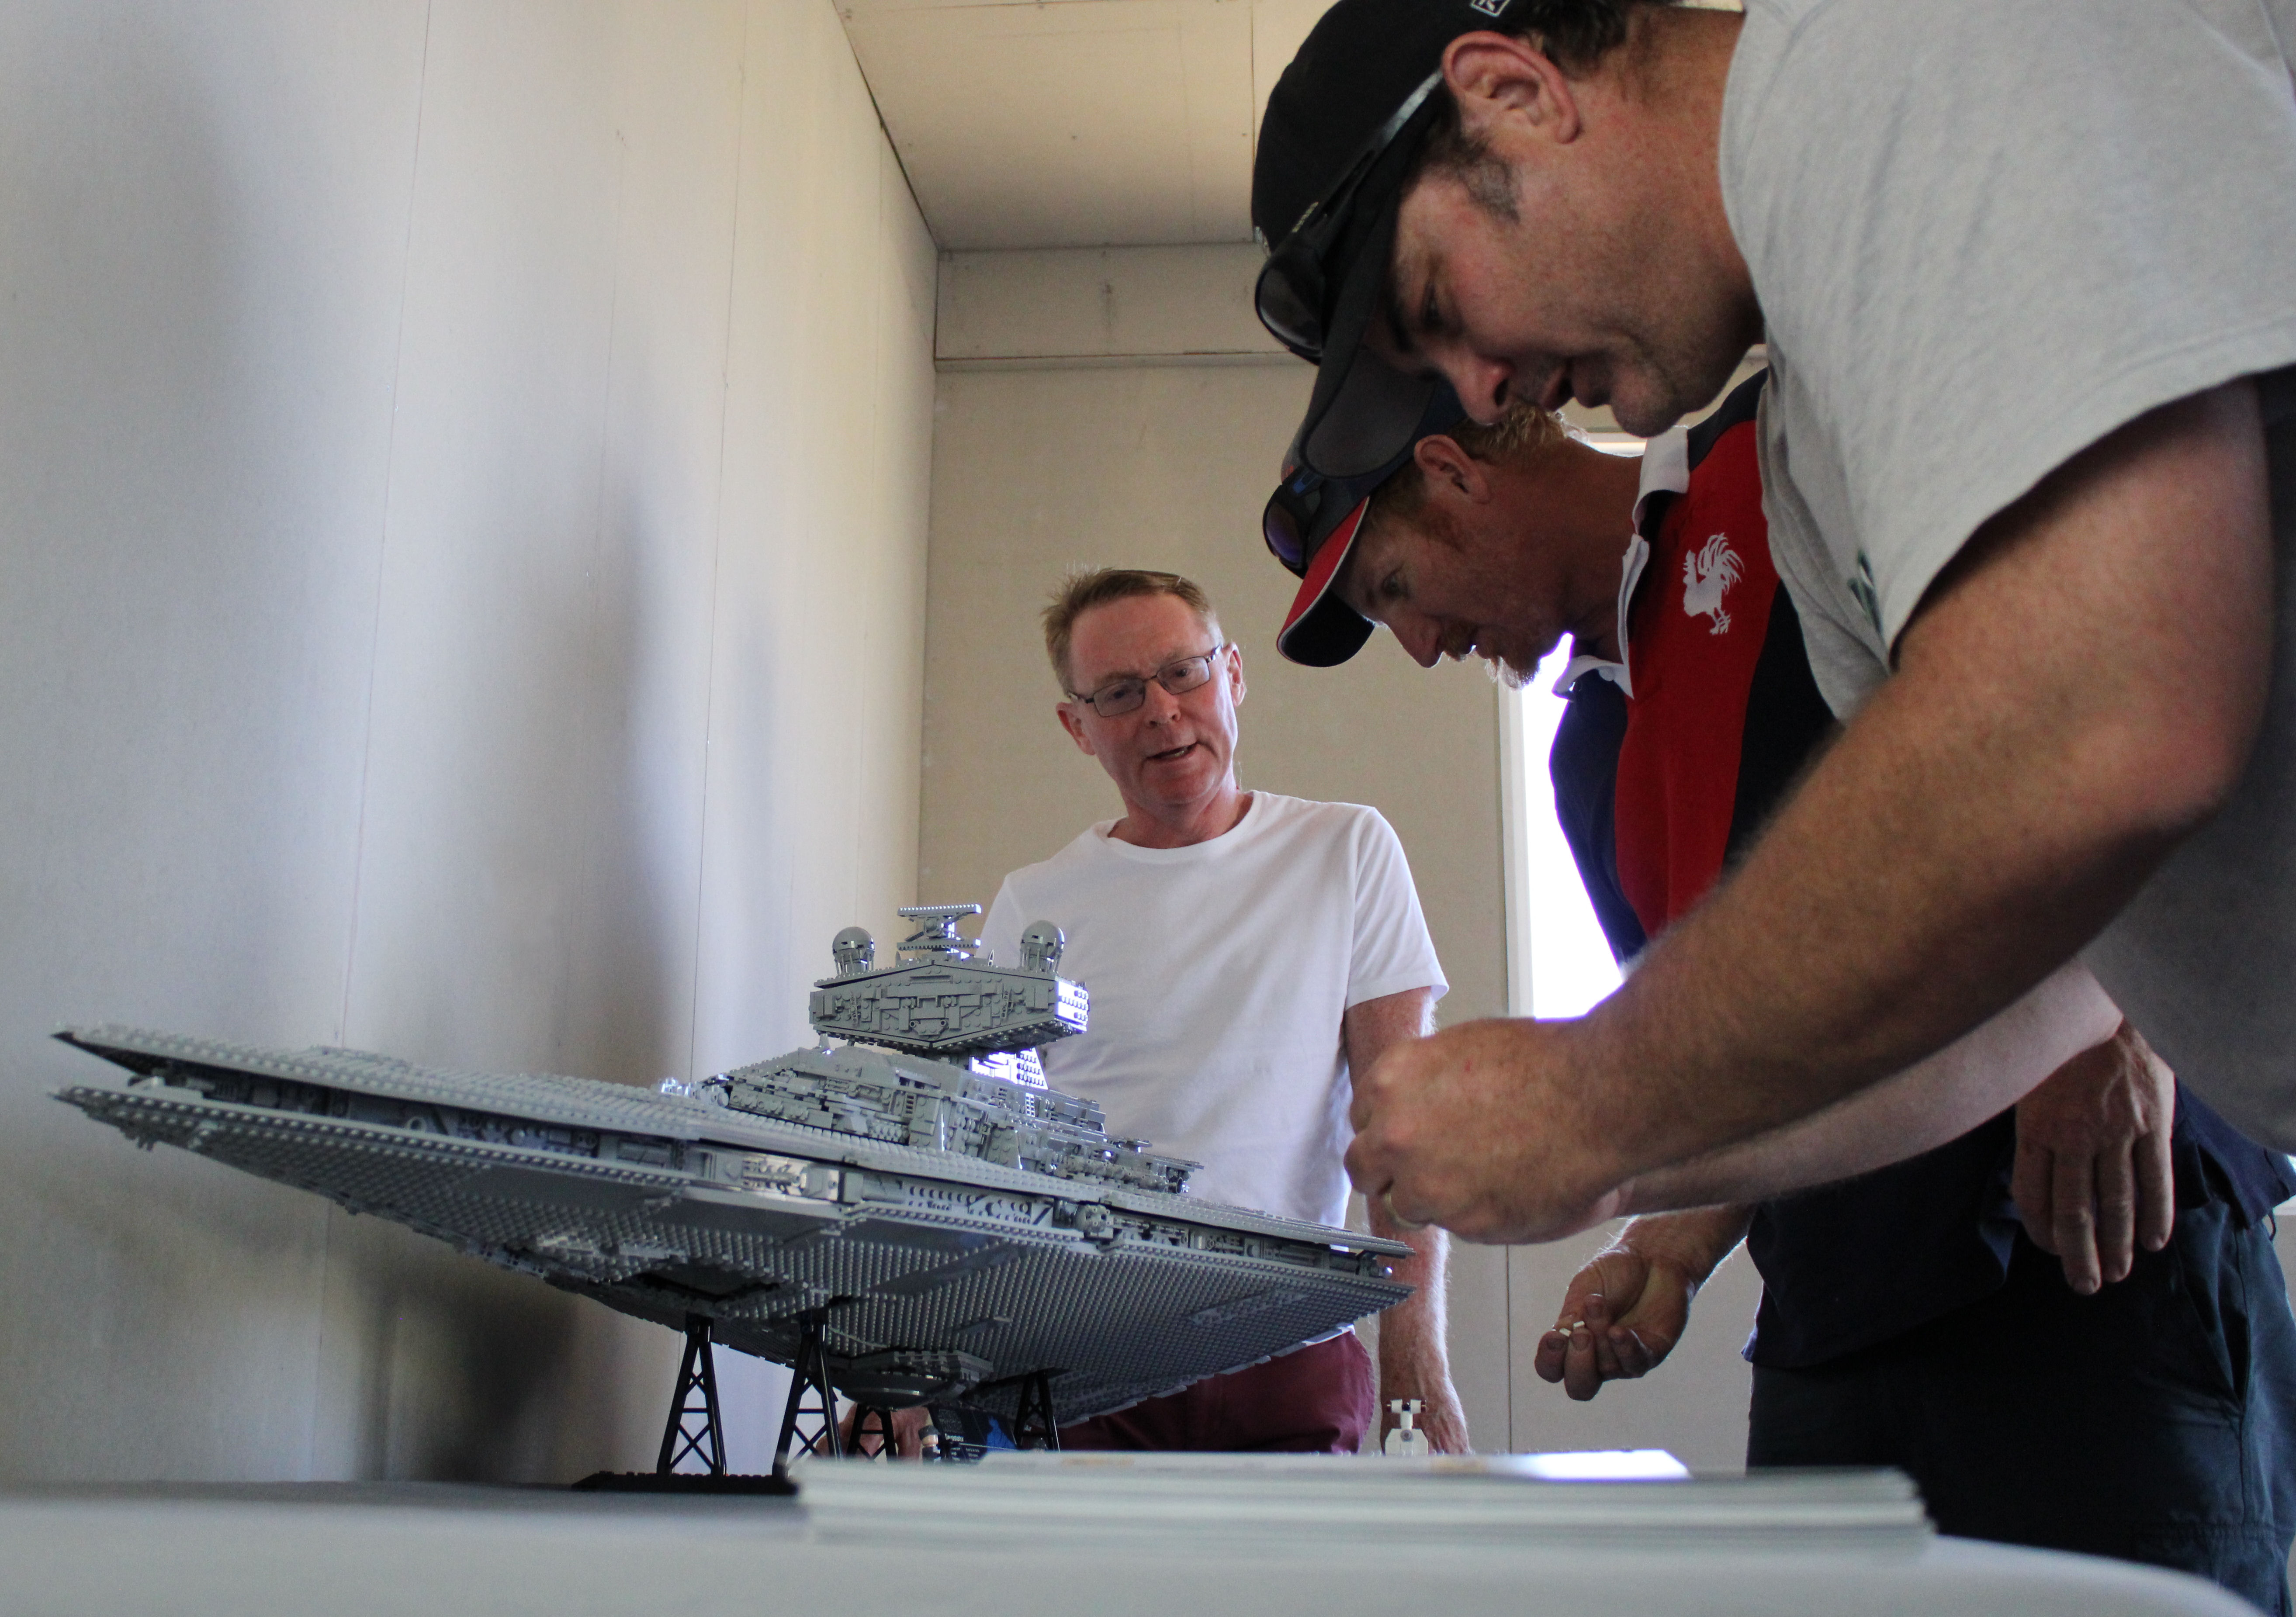
The final push to build the smallest part of the set needed three pairs of hands.
The ultimate step to complete the UCS Imperial Star Destroyer came a few days later when Dave, John, Tim and families were able to gather together - in one place for the first time since we first laid eyes on it - to assemble the last few pieces and collectively enjoy the completed set. Having ushered a procession of fifteen or so a demonstratively impressed onlookers past the finished build the commissioning ceremonies turned to the BBQ and the gathered guests polished off a mountain of salads, bread, sausages and burgers and washing it down - Geeki Tiki-style - with a variety of age-appropriate libations the build team began to speculate on what the next big LEGO project they would get together for would be.
The beverage containers were tropical. The contents were not.
As much as I enjoyed building the UCS Imperial Star Destroyer, it was connecting Dave, Tim and John and getting to spend time with them that - for me - was the greatest part of the experience. John too enjoyed the experience, and added a fourth 'b' to the official title: banter. At least someone appreciated my continual LEGO Star Wars verbal exposition!
Tim's feelings for the UCS Imperial Star Destroyer knew no bounds. Asked what his take on the shared building experience was he enthused that it was "epic! The attention to detail; the precision; the accuracy and the sheer scale took my breath away. It is one of the most enjoyable experiences I have had for some time and I cant wait for the next invitation.
After just over twenty long hours of assembling the UCS Imperial Star Destroyer we were all heartily over looking at so much grey bricks and I was already talking about breaking it down due to lack of space. Quick as a flash Dave offered to make some space in his pool room and extend visitation rights to me, while Tim was trying to come up with a couple of convincing reasons that his man cave needed one of these. John, always the one to live on the edge, bravely said "I'm getting one of these" with his wife in earshot. Needless to say his bravado ended like the Tantive IV's pre-retconned end - in flames.
With the set build there were sighs of relief from all around the table.
Seventeen years after its debut as 10030 Imperial Star Destroyer, this icon of the Galactic Empire captures all the authentic details of that opening sequence we were treated to the first time we saw A New Hope. Available exclusively through LEGO brand stores and their online shopping portal (with free shipping), there's still time to get one of these down your chimney for Christmas. If it's big enough for this huge set to fit!